Aroma Rice Cooker Food Steamer: A Comprehensive Guide
This guide details using your Aroma rice cooker, including pre-programmed settings and accessories. Helpful charts aid in rice cooking and steaming, ensuring optimal results.
Understanding Your Aroma Rice Cooker
Your Aroma rice cooker functions by bringing water to a boil – precisely 100°C/212°F. The cooking process relies on complete water evaporation and absorption by the rice. Once this occurs, the temperature rises above boiling, automatically signaling the cooker to switch to a warming cycle. This simple, yet effective, mechanism ensures perfectly cooked rice every time.
It’s crucial to understand that Aroma cookers are designed for both household and commercial use. The included manual provides detailed instructions for utilizing the pre-programmed digital settings and all accompanying accessories. Familiarize yourself with these features to maximize your cooking experience. Remember, the measuring cup provided with your Aroma cooker isn’t a standard US cup (240mL); it’s approximately 180mL, equivalent to roughly ¾ of a standard cup.
For consistent results, always use the provided measuring cup. Adding rice and water according to the markings ensures proper ratios. Don’t hesitate to consult the helpful measurement charts within the manual for various rice types and quantities. Proper understanding of these fundamentals will unlock the full potential of your Aroma rice cooker.
Components and Accessories
Your Aroma rice cooker package includes several essential components designed for versatile cooking. Primarily, you’ll find the rice cooker itself, featuring a non-stick inner pot crucial for preventing sticking and ensuring easy cleanup. A clear measuring cup, specifically calibrated for Aroma cookers (180mL, approximately ¾ US cup), is included for accurate rice-to-water ratios.
A steaming tray is a key accessory, enabling you to steam vegetables, meats, or poultry alongside your rice. This allows for complete, one-pot meals. The spatula, often included, is designed to gently fluff the rice without scratching the non-stick coating. Should you require replacements, official Aroma rice cooker measuring cups are available for purchase online, and a comprehensive parts and manuals page is accessible through their website.
Understanding each component’s function is vital. The manual details how to properly utilize each accessory, maximizing the cooker’s capabilities. Remember to always refer to the manual for specific instructions and safety guidelines related to each component. Proper care and use will extend the life of your Aroma rice cooker and its accessories.
Rice Measurement and Ratios
Accurate rice measurement is fundamental to successful cooking with your Aroma rice cooker. Always utilize the provided measuring cup – it’s not equivalent to a standard US cup (240mL). The Aroma cup holds approximately 180mL. For white rice, a common starting point is a 1:1 ratio of rice to water. However, this can vary based on rice type.
Short-grain or medium-grain sushi rice, known for its stickiness, may require slightly less water. Conversely, long-grain jasmine rice often benefits from a 1:1 ratio for firmer, separated grains, similar to those served in Chinese restaurants. Experimentation is key to finding your preferred consistency. Two cups of rice should be filled up to the 2-cup line inside the cooker.
Remember to adjust water levels based on the quantity of rice. The cooker’s manual provides detailed charts for various rice types and amounts. Precise measurements ensure even cooking and prevent issues like sticky or undercooked rice. Consistent use of the provided cup guarantees repeatable results every time.
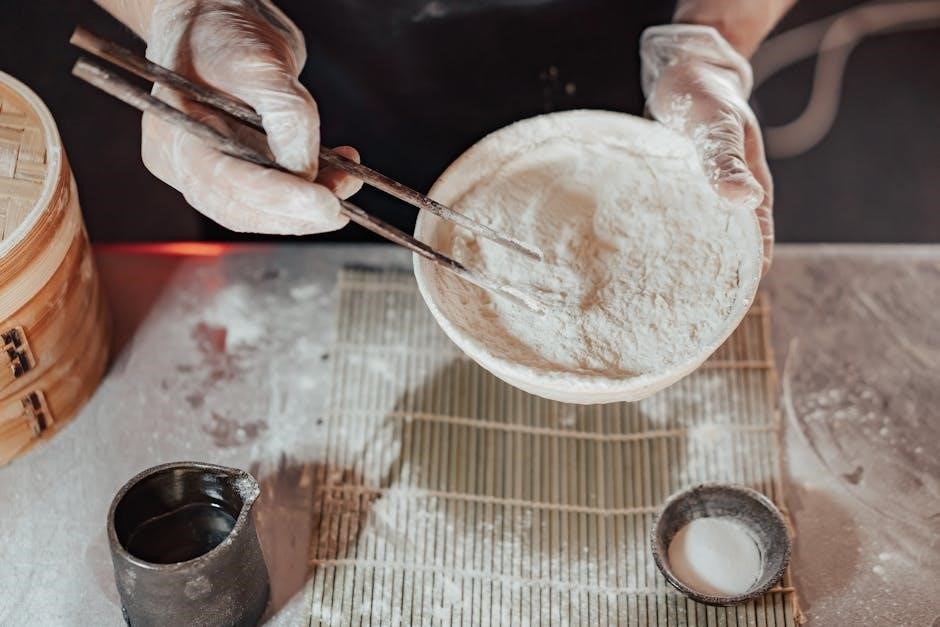
Rinsing Rice for Optimal Results
Rinsing rice before cooking is a crucial step often overlooked, yet it significantly impacts the final texture. The purpose of rinsing is to remove excess starch from the rice grains. This starch contributes to stickiness, and removing it results in fluffier, more separate grains – particularly important for varieties like jasmine rice.
To rinse effectively, place the measured rice into the cooker’s inner pot and cover with cold water. Gently swirl the rice with your hand, then carefully drain the cloudy water. Repeat this process 2-3 times, or until the water runs relatively clear. Don’t scrub vigorously, as this can damage the grains.
While rinsing is generally recommended, it’s less critical for short-grain sushi rice, as some stickiness is desired. However, even with sushi rice, a gentle rinse can improve the overall texture. Proper rinsing contributes to more consistent cooking and prevents the rice from clumping together during and after the cooking process.

Cooking White Rice
Utilize the provided clear cup for accurate measurement, filling to the corresponding line. Rinse the rice 2-3 times, then simply press the “White Rice” button for perfect results!
Water Levels for Different Rice Quantities
Achieving perfectly cooked rice hinges on the correct water-to-rice ratio. Your Aroma rice cooker includes a measuring cup, but it’s crucial to understand it’s not a standard US cup. A standard US cup equals 240mL, while the rice cooker cup is approximately 180mL – roughly ¾ of a US cup.
For two cups of rice (using the provided 180mL cup), fill the cooker to the 2-cup line. This ensures sufficient water for proper steaming and absorption. Remember, short-to-medium grain sushi rice requires more water due to its stickier nature. Long-grain jasmine rice generally needs a 1:1 water ratio for firmer, separated grains.
Experimentation is key! While the markings inside the cooker are a great starting point, slight adjustments may be needed based on your preferred rice texture and the specific type of rice used. Japanese rice, being starchier, may require a touch more water. Always observe the rice during cooking and adjust accordingly in future batches.
Consistent use of the provided measuring cup is vital for repeatable results. Avoid using standard kitchen cups, as the differing volume will significantly impact the final outcome. Precise measurement guarantees fluffy, delicious rice every time.
Using the “White Rice” Setting
The “White Rice” setting is your go-to for most long and medium-grain rice varieties. After measuring your rice (using the provided cup and rinsing – see separate instructions) and adding the appropriate water level, simply press the “White Rice” button to initiate the cooking cycle.
This setting automatically regulates the cooking temperature and time, bringing the water to a boil (100°C/212°F) and then maintaining it until all the water is absorbed. Once absorption is complete, the temperature rises above boiling, signaling the cooker to switch to the “Warm” setting.
Avoid lifting the lid during the cooking process, as this releases steam and disrupts the cooking temperature. The cooker’s sensors rely on consistent heat for optimal results. Trust the automated process!
For slightly stickier rice, like sushi rice, the “White Rice” setting works well, but allowing the rice to sit in the pot for 10-15 minutes after cooking helps redistribute moisture and achieve the desired texture. Remember, Japanese rice is naturally stickier than other types.
The cooker will automatically switch to “Warm” when finished; however, it’s best to fluff the rice gently with a fork before serving to separate the grains.
Post-Cooking: Resting and Fluffing
Once the Aroma rice cooker switches to the “Warm” setting, resist the immediate urge to open the lid! Allowing the rice to rest for 10-15 minutes is crucial for achieving optimal texture and preventing a mushy consistency. This resting period allows the steam to redistribute evenly throughout the grains.
During this time, the residual heat continues to gently steam the rice, ensuring it’s fully cooked and fluffy. This is particularly important for stickier rice varieties, like short-grain or sushi rice, where moisture distribution is key.
After the resting period, gently fluff the rice with a fork. Avoid stirring vigorously, as this can break the grains and make the rice gluey. A light, lifting motion is all that’s needed to separate the grains and release any remaining steam.
If your rice appears slightly wet after fluffing, simply let it sit on the “Warm” setting for a few more minutes. The excess moisture will evaporate, resulting in perfectly cooked rice;
Remember, the finished product shouldn’t look drastically different from examples of properly cooked Japanese white rice – a slight stickiness is normal, especially with short-grain varieties.
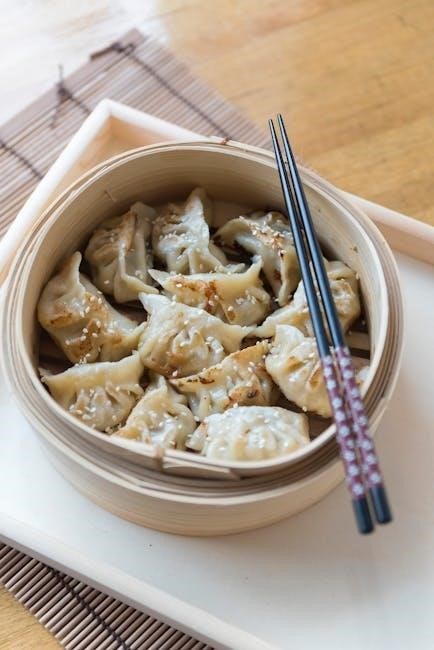
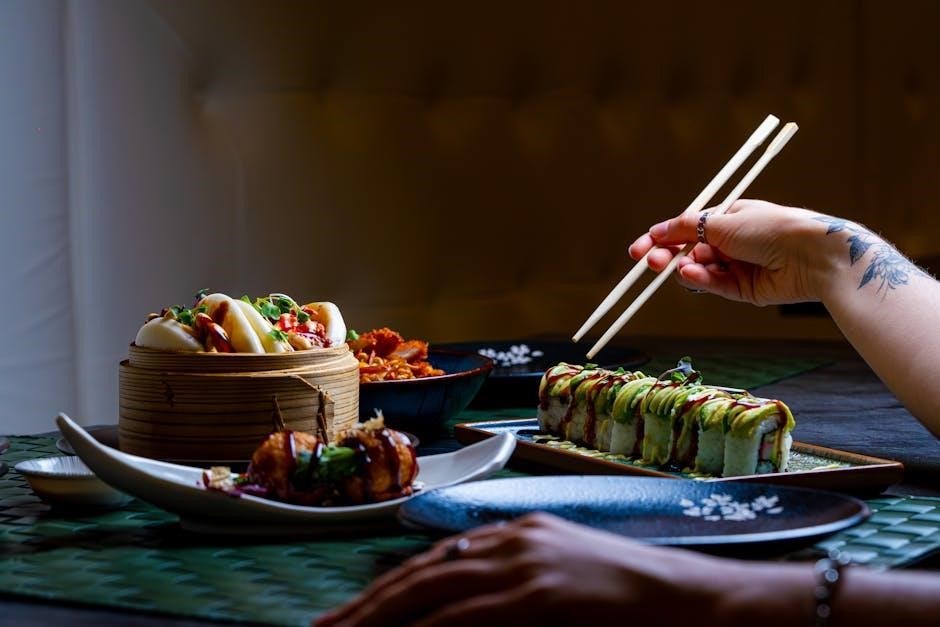
Steaming with Your Aroma Rice Cooker
Utilize the included steaming tray for vegetables or meats. Ensure pieces aren’t too large, as they’ll essentially boil alongside the rice, cooking effectively and safely.
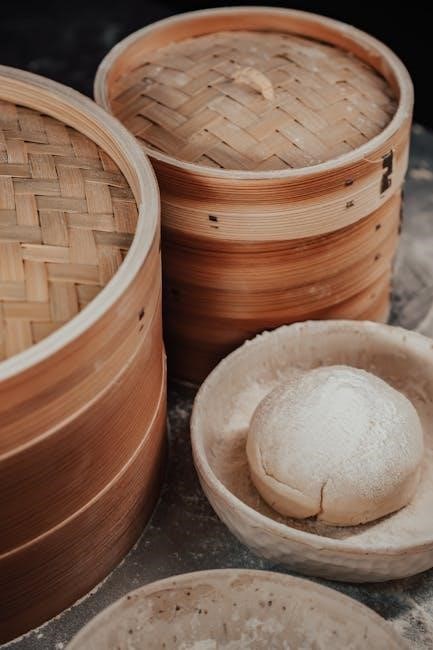
Preparing the Steaming Tray
Before steaming, ensure the steaming tray is clean and properly positioned within your Aroma rice cooker. The tray typically sits above the inner pot, allowing steam to circulate and cook food without direct contact with the boiling water below. This method preserves nutrients and prevents sticking.
Add water to the inner pot – the amount depends on the steaming time required. A general guideline is to add enough water to create steam for the duration of cooking, but avoid exceeding the maximum water level indicated in your cooker’s manual. Too much water could potentially splash up and affect the food.
Place food on the steaming tray, ensuring it’s arranged in a single layer for even cooking. Avoid overcrowding, as this can hinder steam circulation and result in unevenly cooked food. For best results, cut food into similar-sized pieces to promote consistent cooking times. Consider lightly seasoning the food before steaming to enhance its flavor.
Secure the lid tightly to trap the steam and maintain a consistent temperature. The Aroma rice cooker will automatically switch to the “Steam” function or maintain a simmering temperature, depending on the model. Always refer to your specific model’s instructions for optimal steaming procedures.
Steaming Vegetables: Timing and Techniques
Steaming vegetables in your Aroma rice cooker preserves their vibrant color, texture, and essential nutrients. Timing varies significantly based on the vegetable type and desired tenderness. Leafy greens like spinach and kale require only a few minutes (3-5), while denser vegetables such as carrots and broccoli need 8-12 minutes.
For best results, cut vegetables into uniform pieces to ensure even cooking. Consider pre-blanching harder vegetables briefly to jumpstart the process. Arrange them in a single layer on the steaming tray, avoiding overcrowding to allow for proper steam circulation.
Delicate vegetables benefit from being placed higher on the tray, further from the boiling water. Regularly check for doneness by piercing with a fork; they should be tender-crisp. Season lightly with salt, pepper, or herbs after steaming to retain their flavor and nutritional value.
Experiment with different combinations – steaming is ideal for mixed vegetable medleys. Remember to adjust cooking times based on the densest vegetable included. The Aroma cooker’s consistent steam provides a healthy and flavorful cooking method.
Steaming Meat and Poultry: Safety Considerations
Steaming meat and poultry in your Aroma rice cooker is possible, but requires strict adherence to safety guidelines to ensure thorough cooking and prevent foodborne illness. The rice cooker boils at 100°C (212°F), which is sufficient for cooking, provided pieces aren’t excessively large.
Crucially, always use a food thermometer to verify the internal temperature reaches safe levels. Poultry must reach 165°F (74°C), while most meats require at least 145°F (63°C) with a three-minute rest. Smaller, uniformly sized pieces cook more evenly and quickly.
Avoid overcrowding the steaming tray, as this can lower the temperature and lead to uneven cooking. Marinating meat beforehand can enhance flavor and tenderness. Ensure the steaming liquid doesn’t directly touch the meat to prevent a boiled texture.
Never steam frozen meat or poultry; thaw completely beforehand. Regularly check the internal temperature throughout the cooking process. Proper steaming, combined with temperature verification, delivers a healthy and flavorful meal.
Troubleshooting Common Issues
Sticky rice often results from using short-grain varieties; rinsing thoroughly and letting it rest post-cooking can help. Undercooked rice may need more water or a longer cook time.
Rice is Too Sticky
If your rice consistently turns out too sticky, several factors could be at play. Firstly, consider the type of rice you’re using. Short- and medium-grain rice, particularly sushi rice, are naturally stickier due to their higher starch content. This is intentional for dishes like sushi where the stickiness is desired! However, if you prefer fluffier, separated grains, switching to a long-grain variety like jasmine rice is recommended.
Proper rinsing is crucial. Rinse the rice 2-3 times before cooking to remove excess surface starch. This significantly reduces stickiness. Also, adjusting the water ratio can help. Try a 1:1 rice-to-water ratio for long-grain rice, as opposed to the standard ratios for other types.
Post-cooking rest is also important. After the cooking cycle completes, let the rice sit in the cooker, undisturbed, for about 10-15 minutes. This allows the steam to redistribute and the grains to separate slightly. Finally, gently fluff the rice with a fork before serving. Remember, Japanese rice is naturally stickier, so expectations should be adjusted accordingly!
Rice is Undercooked
Encountering undercooked rice with your Aroma cooker usually points to insufficient cooking time or an incorrect water-to-rice ratio. Rice cookers operate by boiling water until absorbed, then relying on temperature to signal completion. If the water evaporates too quickly, the rice won’t fully cook.
Ensure you’re using the correct water level for the quantity of rice. Refer to the measurement charts included with your cooker or online resources. A slight increase in water – perhaps an extra tablespoon or two – can sometimes resolve the issue. Also, verify that the cooker’s heating element is functioning correctly.
If using the “White Rice” setting, confirm it’s appropriate for the rice type. Some cookers have settings for different grains. For stubborn cases, after the initial cycle, you can add a small amount of water (1/4 cup) and run the cooker on a shorter cycle. Remember, the cooker reaches 100°C (212°F) to boil the rice, so ensure sufficient liquid for proper cooking. Don’t open the lid during the cooking process, as this releases steam and affects the cooking time.
Finding Replacement Parts and Manuals
Locating replacement parts or a new manual for your Aroma rice cooker is often straightforward. The official source for rice cooker parts and manuals is typically the Aroma website itself. You can navigate to their support section and search specifically for your model number to find downloadable manuals in PDF format.
For replacement cups, the official Aroma store offers them directly. However, alternative retailers also sell compatible measuring cups, often at competitive prices. Be mindful that Aroma’s measuring cup isn’t equivalent to a standard US cup (240mL); it’s approximately 180mL. Using the correct cup ensures accurate rice-to-water ratios.
If you’ve misplaced your original manual, online archives and third-party websites frequently host digital copies. Searching online using your model number and “manual” will yield numerous results. Always verify the manual corresponds to your specific Aroma rice cooker model for accurate instructions and safety guidelines. Remember to prioritize official sources when possible for the most reliable information.