Black & Decker offers diverse coffee makers, from 12-cup programmable thermal models like CM2046S to single-serve options such as CM618, catering to varied preferences.
The DLX1050 is a programmable 12-cup model, proving excellent coffee doesn’t require a high price tag, while newer models boast advanced features.
These appliances prioritize ease of use, featuring programmable timers, ‘Sneak-A-Cup’ functionality, and straightforward controls, enhancing the daily coffee ritual for consumers.
Overview of Black & Decker’s Coffee Maker Lineup
Black & Decker’s coffee maker range spans drip, single-serve, and thermal carafes, offering solutions for diverse brewing needs. Popular models include the CM2046S, a 12-cup thermal programmable option, and the CM618 single-serve coffeemaker.
The DLX1050 provides a 12-cup programmable experience with a glass carafe, while the CM1160B is a standard drip model. Newer additions focus on customizable settings and user-friendly interfaces.
This broad selection ensures a Black & Decker coffee maker exists for every household, from basic brewing to advanced, automated coffee preparation.
Popular Models: CM2046S and CM618
The BLACK+DECKER CM2046S is a best-selling 12-cup thermal programmable coffee machine, praised for its ability to keep coffee hot for extended periods. It features a 24-hour auto-brew function and ‘Sneak-A-Cup’ for interruption-free brewing.
Conversely, the CM618 is a single-serve coffeemaker, ideal for individual coffee drinkers. It offers convenience and simplicity, brewing directly into a mug. Both models are known for their affordability and ease of operation.
These represent Black & Decker’s commitment to providing versatile coffee solutions.
Understanding Your Black & Decker Coffee Maker
Black & Decker coffee makers utilize key components like reservoirs, filter baskets, and carafes for brewing. They come in drip, single-serve, and thermal varieties.
Key Components and Their Functions
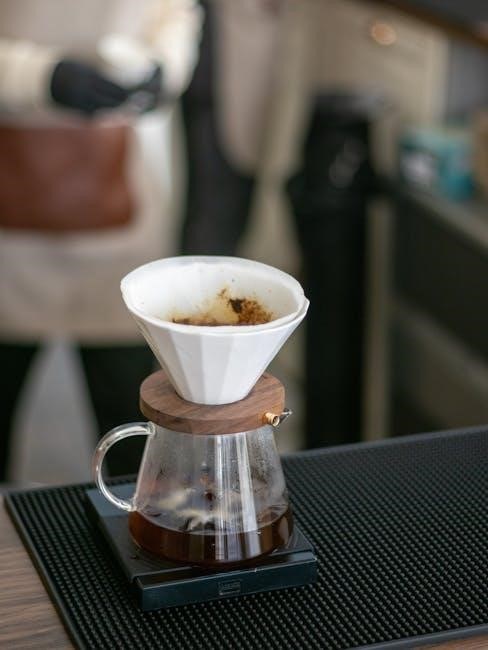
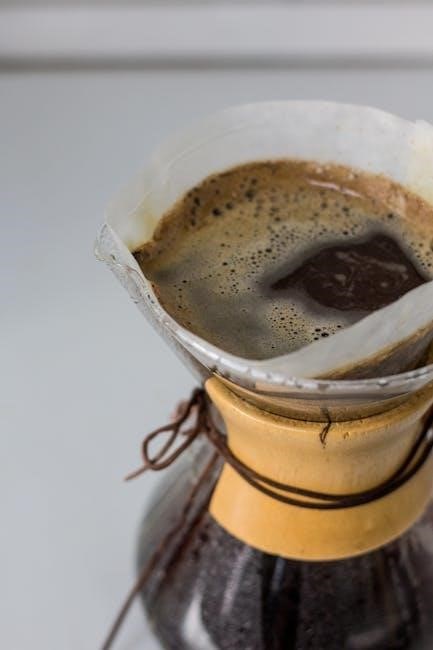
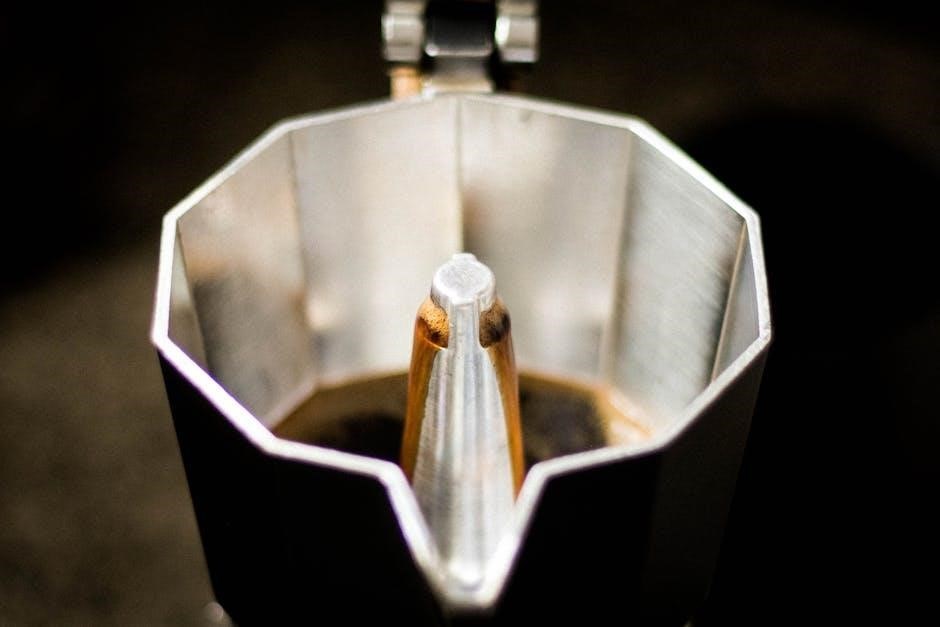
Black & Decker coffee makers feature several essential parts. The water reservoir holds the water for brewing, while the filter basket securely houses the coffee filter and grounds. The carafe, often glass or thermal, collects the brewed coffee.
The control panel manages brewing functions, including programming and auto-brew. Heating elements heat the water, and the spray head evenly distributes water over the grounds. Understanding these components aids in proper operation and maintenance, ensuring optimal coffee quality and longevity of the appliance.
Types of Black & Decker Coffee Makers (Drip, Single-Serve, Thermal)
Black & Decker offers a variety of coffee maker types. Drip coffee makers, like the CM1160B, are classic and brew multiple cups. Single-serve models, such as the CM618, provide individual portions for convenience.
Thermal coffee makers, including the CM2046S, utilize insulated carafes to maintain coffee temperature for extended periods. Each type caters to different needs, from large households to individual coffee drinkers, offering diverse brewing options.
Setting Up Your Coffee Maker
Proper setup involves initial cleaning, filling the water reservoir, and correctly placing a paper or reusable filter before the first brew for optimal performance.
Initial Cleaning Before First Use
Before your first delightful brew, thoroughly clean your Black & Decker coffee maker. Remove all packaging materials and wash the carafe, filter basket, and any detachable parts with warm, soapy water.
Rinse these components completely to eliminate any residue from the manufacturing process. Then, run a full brewing cycle with only water – no coffee grounds – to flush out the system.
This initial cleaning ensures a pure, fresh coffee taste and removes any potential odors, preparing your machine for years of enjoyable use. Discard the water after this cycle.
Water Reservoir Filling Instructions
To fill the water reservoir, carefully remove it from the coffee maker. Use fresh, cold, filtered water for optimal taste. Fill the reservoir to the desired cup level, referencing the water level indicator markings.
Avoid overfilling, as this can cause overflow during brewing. Once filled, securely reattach the reservoir to the coffee maker, ensuring it’s properly seated.
Proper water levels are crucial for achieving the correct coffee strength and preventing operational issues. Always use potable water.
Filter Placement: Paper vs. Reusable
Black & Decker coffee makers accommodate both paper filters and reusable filters. For paper filters, open the filter basket and insert a cone-shaped filter, ensuring it fits snugly. Reusable filters simply snap or slide into the designated filter basket area.
Ensure the filter is correctly positioned to prevent grounds from overflowing. Always rinse reusable filters thoroughly after each use. Proper filter placement is vital for clean brewing.
Using the correct filter type ensures optimal coffee flavor and prevents sediment in your cup.
Brewing Coffee: A Step-by-Step Guide
Add desired coffee grounds to the filter, typically one scoop per cup. Fill the water reservoir, then press the brew button to start the process.
Utilize the 24-hour auto-brew timer for scheduled brewing, or the ‘Sneak-A-Cup’ feature for a quick serving.
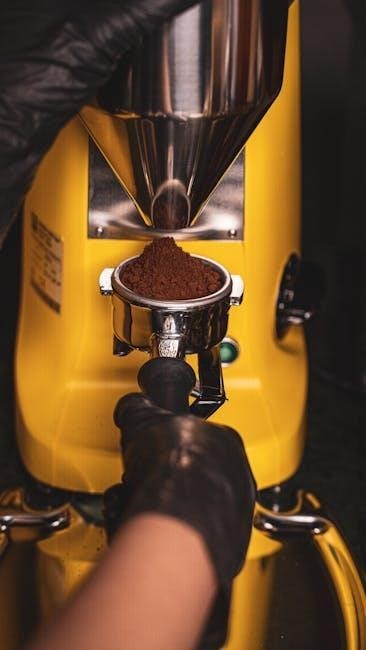
Adding Coffee Grounds: Recommended Amounts
Black & Decker coffee makers generally recommend one level scoop (approximately 5 tablespoons) of ground coffee per 12-cup carafe, adjusting to taste.
For smaller batches, proportionally reduce the amount of grounds; a good starting point is one tablespoon per cup. Experimenting is key to finding your ideal strength.
Finely ground coffee is best suited for drip machines, ensuring optimal extraction and flavor. Avoid overfilling the filter basket to prevent overflow and messy cleanup.
Consistent measurements yield consistent results, so consider using a dedicated coffee scoop for accuracy.
Programming the Auto-Brew Function (24-Hour Timer)
Black & Decker coffee makers with auto-brew functionality allow programming up to 24 hours in advance for fresh coffee upon waking.
Press the “Program” or “Timer” button, then use the “Hour” and “Minute” buttons to set the desired brew start time. Confirm your selection by pressing “Program” again.
Ensure the coffee maker is filled with water and grounds before setting the timer. The indicator light will illuminate, confirming the auto-brew is activated.
To cancel, simply press the “Program” button until the indicator light turns off.
Using the Sneak-A-Cup Feature
Many Black & Decker coffee makers include a “Sneak-A-Cup” feature, allowing you to pour a cup mid-brew without making a mess.
Simply remove the carafe briefly during the brewing cycle; the feature temporarily stops the drip to prevent spills onto the warming plate.
Replace the carafe within a reasonable timeframe (usually 30 seconds) to resume brewing. Note that using this feature may slightly alter brew strength.
This convenient function provides a quick caffeine fix before the full brewing process is complete.
Cleaning and Maintenance
Regular cleaning ensures optimal performance and longevity of your Black & Decker coffee maker; daily procedures, descaling, and carafe cleaning are essential.
Consistent upkeep prevents mineral buildup and maintains the quality of your brewed coffee.
Daily Cleaning Procedures
After each use, promptly discard used coffee grounds and the paper filter – or empty and rinse the reusable filter thoroughly.
Wash the carafe and filter basket with warm, soapy water, ensuring all coffee residue is removed; these parts are often dishwasher safe, but check your model’s manual.
Wipe down the exterior of the coffee maker with a damp cloth to prevent stains and maintain a clean appearance. Avoid abrasive cleaners, as they can damage the finish.
Regular daily cleaning prevents buildup and ensures consistently fresh-tasting coffee.
Descaling Your Coffee Maker
Descaling removes mineral buildup that affects performance and coffee taste. Fill the water reservoir with a mixture of equal parts white vinegar and water.
Run a full brewing cycle without coffee grounds. Repeat with fresh water 2-3 times to rinse away any vinegar residue thoroughly.
The frequency of descaling depends on water hardness; typically, every 3-6 months is recommended. Ignoring this can lead to slower brewing and potential damage.
Consult your model’s manual for specific descaling instructions.
Cleaning the Carafe and Filter Basket
After each use, wash the carafe and filter basket with warm, soapy water. For stubborn coffee stains in the carafe, a paste of baking soda and water can be effective.
Ensure all soap residue is rinsed away thoroughly. The carafe and filter basket are often dishwasher safe, but check your model’s manual first.
Regular cleaning prevents buildup and ensures optimal coffee flavor. Avoid abrasive cleaners that could scratch the surfaces.
Dry all components completely before reassembling.
Troubleshooting Common Issues
If the coffee maker won’t turn on, check the power cord and outlet. Slow brewing may indicate scaling; weak or bitter coffee needs adjustment.
Coffee Maker Not Turning On
If your Black & Decker coffee maker fails to power on, several checks are essential. First, ensure the power cord is securely plugged into a functioning electrical outlet.
Test the outlet with another device to confirm it’s providing power. Inspect the power cord itself for any visible damage, such as cuts or fraying.
If using an extension cord, verify it’s rated for the coffee maker’s wattage. A tripped circuit breaker could also be the culprit; check your electrical panel and reset if necessary.
Finally, consult the instruction manual for any specific reset procedures or safety features related to power interruption.
Coffee Brewing Too Slowly
If your Black & Decker coffee maker brews exceptionally slowly, scale buildup is a likely cause. Minerals from water accumulate over time, restricting water flow.
Descaling the coffee maker with a descaling solution or a vinegar-water mixture is crucial. Ensure the filter basket isn’t overfilled with coffee grounds, as this can also impede water flow.
Check for any obstructions in the water reservoir or spray head. A clogged spray head will significantly slow down the brewing process. Refer to your manual for cleaning instructions.
Regular cleaning and descaling prevent this issue and maintain optimal brewing speed.
Coffee Tastes Weak or Bitter
Weak coffee often results from insufficient coffee grounds. Increase the amount of coffee used per cup, following the recommended guidelines in your instruction manual.
Bitter coffee can stem from using too much coffee, stale grounds, or a dirty coffee maker. Ensure you’re using fresh, quality coffee beans and cleaning the machine regularly.
Descaling removes mineral buildup that can affect taste. Experiment with brew strength settings, if available, to find your preferred flavor profile.
Water quality also impacts taste; use filtered water for best results.

Advanced Features & Settings
Black & Decker coffee makers offer programmable brew strength and adjustable keep-warm temperatures, allowing customization for optimal flavor and personalized brewing experiences.
Programmable Brew Strength
Black & Decker coffee makers with this feature allow users to tailor the coffee’s intensity to their liking. Typically, this is controlled via a ‘Brew Strength’ button on the control panel.
Options usually include ‘Regular’ for a standard brew, and ‘Bold’ for a richer, more robust flavor. Selecting ‘Bold’ often slows the brewing process slightly, ensuring maximum extraction from the coffee grounds.
Consult your specific model’s instruction manual for precise settings and operation, as button labels and functionality can vary between different Black & Decker designs.
Adjusting the Keep-Warm Temperature
Many Black & Decker coffee makers feature a keep-warm function to maintain coffee temperature after brewing. While not all models offer adjustable temperatures, some allow customization.
If available, this setting is usually accessed through the control panel, potentially with ‘Low,’ ‘Medium,’ and ‘High’ options. Lower settings preserve flavor longer, while higher settings ensure maximum warmth.
Refer to your specific model’s instruction manual for detailed guidance, as the keep-warm duration and temperature controls vary significantly between different Black & Decker designs.
Safety Precautions
Black & Decker coffee makers require electrical safety adherence, avoiding water exposure and damaged cords. Prevent burns by handling hot surfaces carefully and using caution with steam.
Electrical Safety Guidelines
Always ensure the coffee maker is plugged into a grounded outlet with the correct voltage to prevent electrical shock or fire hazards. Never operate the appliance with a damaged cord or plug; replace immediately.
Do not immerse the coffee maker, cord, or plug in water or other liquids. Avoid using extension cords, but if necessary, use a heavy-duty cord rated for the appliance’s wattage.
Unplug the coffee maker from the outlet when not in use and before cleaning. Inspect the cord regularly for damage, and never attempt to repair it yourself – seek professional assistance.
Avoiding Burns and Scalds
Exercise caution when handling the carafe, as it becomes hot during and after brewing. Always use the handle or a pot holder to avoid burns. Be mindful of escaping steam, especially when opening the lid or removing the carafe.
Never touch hot surfaces, and keep children away from the coffee maker during operation. Allow the appliance to cool completely before cleaning or storing. Avoid spilling hot coffee, and clean up any spills immediately.
Do not operate the coffee maker if the carafe is cracked or damaged, as this could lead to scalding.
Replacement Parts & Accessories
Black & Decker offers compatible replacement parts for various models, including carafes and filters, ensuring longevity and continued optimal performance of your coffee maker.
Finding Compatible Parts for Your Model
Locating the correct replacement parts for your Black & Decker coffee maker is crucial for maintaining its functionality. Begin by identifying your specific model number, typically found on the appliance’s underside or in the instruction manual.
Once you have the model number, you can search online retailers or the Black & Decker website for compatible parts lists and diagrams. These resources often include photos to aid in accurate identification. Parts are available for 64 models.
Ensure the part number matches before purchasing to guarantee a proper fit and function.
Carafe Replacements
Replacing a broken carafe is often necessary to continue enjoying your Black & Decker coffee maker. Carafes are model-specific, so knowing your appliance’s model number is essential for finding a compatible replacement.
Glass carafes are common, but thermal carafes are also available for models like the CM2046S, offering extended heat retention. Online retailers and the Black & Decker website are excellent sources.
Always verify the carafe’s capacity and handle style match your original before ordering.

Black & Decker Coffee Maker Models Comparison
Black & Decker offers diverse models, including the CM1160B drip coffee maker and the DLX1050 programmable version, each with unique features and capacities.
CM1160B Model Details
The Black & Decker CM1160B is a classic drip coffee maker constructed with plastic and stainless steel components, finished in a sleek black and silver color scheme;
This model is designed for simplicity and reliability, offering a straightforward brewing process without complex features. It’s ideal for users seeking a no-frills, dependable coffee maker.
While lacking advanced programmability, the CM1160B consistently delivers a pot of coffee, making it a practical choice for everyday use in homes or small offices.
DLX1050 Model Features
The Black & Decker DLX1050 is a 12-cup programmable coffee maker with a glass carafe, designed to deliver a satisfying coffee experience without a premium price.
Key features include a 24-hour auto-brew function, allowing users to schedule coffee preparation in advance, and a ‘Sneak-A-Cup’ feature for interrupting the brewing cycle.
Its programmable timer and user-friendly design make it a convenient option for those seeking a reliable and customizable coffee maker for daily use.
Understanding the Control Panel
Black & Decker control panels feature buttons for power, programming, and brew strength, alongside display indicators showing brewing status and timer settings for ease of use.
Button Functions Explained
Power initiates or halts the brewing cycle, while the Program button sets the 24-hour auto-brew timer, allowing for pre-scheduled coffee preparation. The Brew Strength button, available on select models, adjusts coffee flavor intensity.
Sneak-A-Cup temporarily pauses brewing for a quick serving, and other buttons may control cleaning cycles or adjust keep-warm settings. Illuminated indicators confirm selected functions.
Refer to your specific model’s instruction manual for detailed explanations of each button’s operation, ensuring optimal use and customization of your Black & Decker coffee maker.
Display Indicators and Their Meanings
The clock display shows the current time, while a timer indicator illuminates when the auto-brew function is activated. A brew indicator signals active coffee making, and a keep-warm light confirms the warming plate is engaged.
Some models feature indicators for strength selection or cleaning cycles. Flashing lights often signify errors or the need for attention, like descaling.
Consult your specific Black & Decker coffee maker’s manual for a comprehensive understanding of all display symbols and their corresponding meanings.
Warranty Information
Black & Decker coffee makers come with a limited warranty covering manufacturing defects. Warranty duration varies by model; check your documentation for details and claim procedures.
Retain your proof of purchase for warranty service requests, ensuring a smooth process if issues arise with your appliance.
Black & Decker Coffee Maker Warranty Coverage
Black & Decker typically offers a one-year limited warranty on their coffee makers, covering defects in materials and workmanship from the date of purchase.
This warranty doesn’t cover damage from misuse, accidents, or unauthorized repairs. Normal wear and tear, like carafe breakage, isn’t usually included.
The warranty ensures repair or replacement (at Black & Decker’s discretion) of defective parts, excluding shipping costs. Proof of purchase is essential for any claim.
Specific terms and conditions can vary, so always refer to the warranty documentation included with your particular model for complete details.
How to Claim Warranty Service
To initiate a warranty claim for your Black & Decker coffee maker, first, retain your proof of purchase – a receipt or date on the instruction manual.
Contact Black & Decker’s customer service via their website or phone number, detailing the issue and providing your model number.
They may request photos or a return of the defective unit for inspection. Shipping costs are generally the consumer’s responsibility.
Upon verification, Black & Decker will either repair or replace the coffee maker, based on their assessment and warranty terms.
Tips for Optimal Coffee Brewing
Utilize freshly ground coffee beans for richer flavor, and ensure high-quality water, as it significantly impacts the final taste of your brewed coffee.
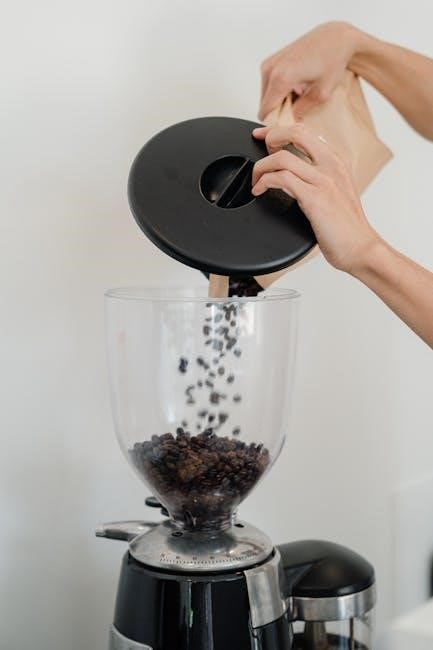
Using Freshly Ground Coffee Beans
For the most flavorful cup, always opt for freshly ground coffee beans instead of pre-ground varieties. Grinding beans immediately before brewing unlocks their aromatic oils and delivers a superior taste experience.
A burr grinder is recommended for consistent particle size, crucial for even extraction. Experiment with grind settings – a medium grind generally works best for Black & Decker drip coffee makers.
Storing beans in an airtight container, away from light, heat, and moisture, preserves their freshness and extends their shelf life, ensuring optimal brewing results every time.
Water Quality and Its Impact on Taste
The quality of water significantly impacts the final taste of your coffee. Black & Decker coffee makers perform best with filtered water, as tap water often contains chlorine and minerals that can detract from the coffee’s natural flavors.
Using filtered water ensures a cleaner, brighter, and more nuanced cup. Avoid distilled water, as it lacks the minerals needed for optimal extraction. Regularly clean your coffee maker to prevent mineral buildup.
Good water equals good coffee – a simple step for a noticeably improved brewing experience.
Black & Decker Coffee Maker FAQs
Frequently asked questions cover cleaning, programming the auto-brew, troubleshooting slow brewing, and understanding display indicators on Black & Decker coffee makers.
Frequently Asked Questions and Answers
Q: Why won’t my coffee maker turn on? Ensure the unit is plugged in and the outlet is working. Check the power cord for damage.
Q: Coffee brews slowly? Descale the machine; mineral buildup restricts water flow. Use the recommended coffee-to-water ratio.
Q: Coffee tastes weak? Increase the amount of coffee grounds used. Select a stronger brew setting if available. Ensure fresh coffee is used.
Q: How do I program the auto-brew? Refer to your instruction manual for specific steps, typically involving setting the desired brew time.