Welcome! Accessing your GE Profile gas range’s manual and installation instructions is now easier than ever through the GE Appliances website.
Find vital information for both current and older models, ensuring seamless operation and addressing any questions you may have regarding your appliance.
Understanding the GE Profile Gas Range Series
The GE Profile gas range series represents a commitment to innovative cooking technology and refined design. These ranges, like the P2B918SEMSS model, often feature self-cleaning capabilities and dual fuel convection options, enhancing versatility in the kitchen.
Owners manuals and installation instructions are readily available online through the GE Appliances website, providing comprehensive guidance for both new and existing users. These resources detail everything from initial setup and safe operation to troubleshooting common issues and understanding advanced features.
Accessing these documents ensures you can maximize the performance of your range and maintain its longevity. Familiarizing yourself with the manual is crucial for safe and efficient use, allowing you to fully enjoy the benefits of your GE Profile appliance.
Safety Precautions and Important Warnings
Prior to operating your GE Profile gas range, carefully review the safety precautions and warnings detailed in the owner’s manual. These guidelines are essential for preventing potential hazards and ensuring safe usage.
The manual outlines critical information regarding gas supply connections, proper ventilation, and electrical requirements. It also addresses potential risks associated with the self-cleaning cycle, emphasizing the importance of removing all cookware and ensuring adequate cooling before initiating the process.
Always adhere to the manufacturer’s instructions to avoid fire, electric shock, or gas leaks. Regularly inspect the gas supply line for damage and never attempt repairs yourself; contact a qualified technician for assistance. Your safety is paramount!
Control Panel Overview
The owner’s manual provides a detailed explanation of your GE Profile gas range’s control panel, including the display, buttons, and available features for easy operation.
Understanding the Display and Buttons
The GE Profile gas range’s display is your central hub for monitoring cooking progress and adjusting settings. Refer to your owner’s manual to fully understand the icons and indicators presented on the screen. It will detail what each symbol means, from oven temperature to timer status.
The buttons on the control panel are intuitively designed for ease of use. The manual will guide you through each button’s function, explaining how to select different cooking modes, set temperatures, and utilize special features like the temperature probe or delay start.
Familiarize yourself with the specific button layout of your model (like P2B918SEMSS) as detailed in the downloadable manual from the GE Appliances website. This will ensure you can confidently navigate the control panel and maximize your cooking experience.
Control Lock Features
GE Profile gas ranges incorporate control lock features designed for safety, particularly in households with children. The owner’s manual details how to activate these locks, preventing accidental operation of the cooktop or oven.
Typically, a control lock disables the buttons on the panel, requiring a specific sequence to unlock them. This prevents unintended changes to cooking settings or activation of the self-cleaning cycle. The manual provides step-by-step instructions for engaging and disengaging the control lock.
Consult your model’s manual (available online via GE Appliances) for precise instructions, as the locking mechanism may vary slightly. Understanding these features ensures a secure and worry-free cooking environment.

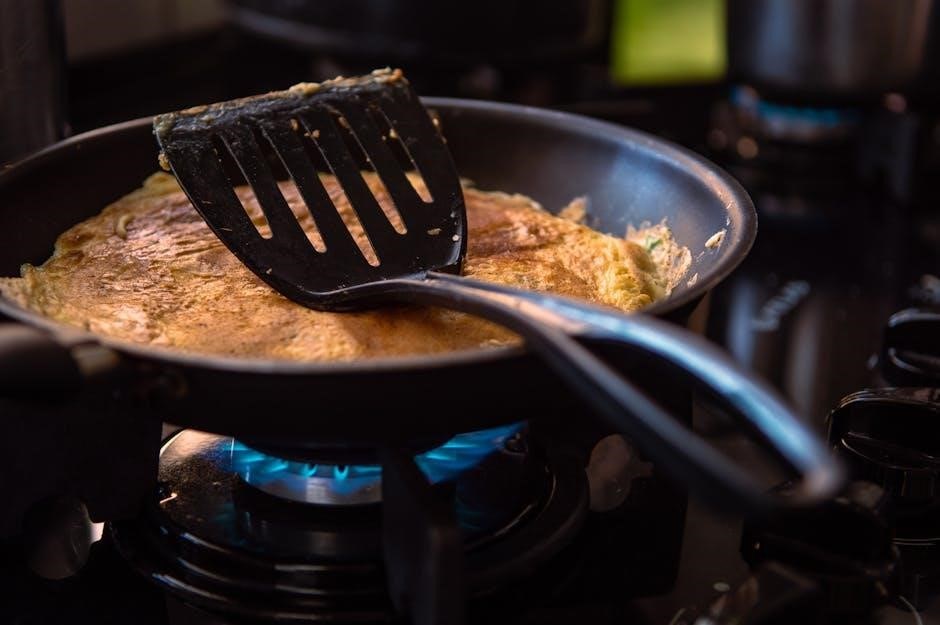
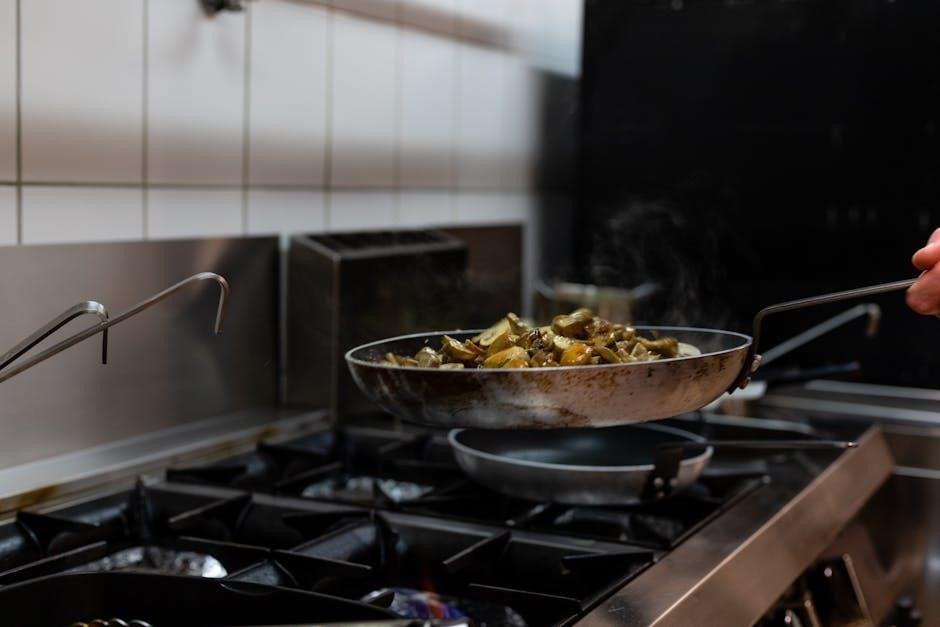
Using the Burners
Your GE Profile gas range features a reliable ignition system; the manual explains flame adjustment and proper burner lighting procedures for optimal cooking.
Refer to the manual for detailed guidance on maximizing burner performance and ensuring safe operation.
Ignition System and Flame Adjustment
Understanding the ignition system is crucial for safe and efficient operation of your GE Profile gas range; The owner’s manual provides detailed instructions on how the electronic ignition works, eliminating the need for standing pilots.
To ignite a burner, simply turn the knob to the “Light” or “High” setting. The igniter will spark, and the burner should light immediately. If it doesn’t, consult the manual’s troubleshooting section.
Flame adjustment is easily controlled with the burner knobs. Turning the knob clockwise increases the flame size, while turning it counterclockwise decreases it. The manual emphasizes the importance of using a flame appropriate for the cookware size to prevent wasted energy and ensure even heating. Always ensure a stable, blue flame for optimal performance.
Refer to the manual for specific guidance on addressing issues like yellow flames or inconsistent ignition, ensuring your range operates safely and effectively.
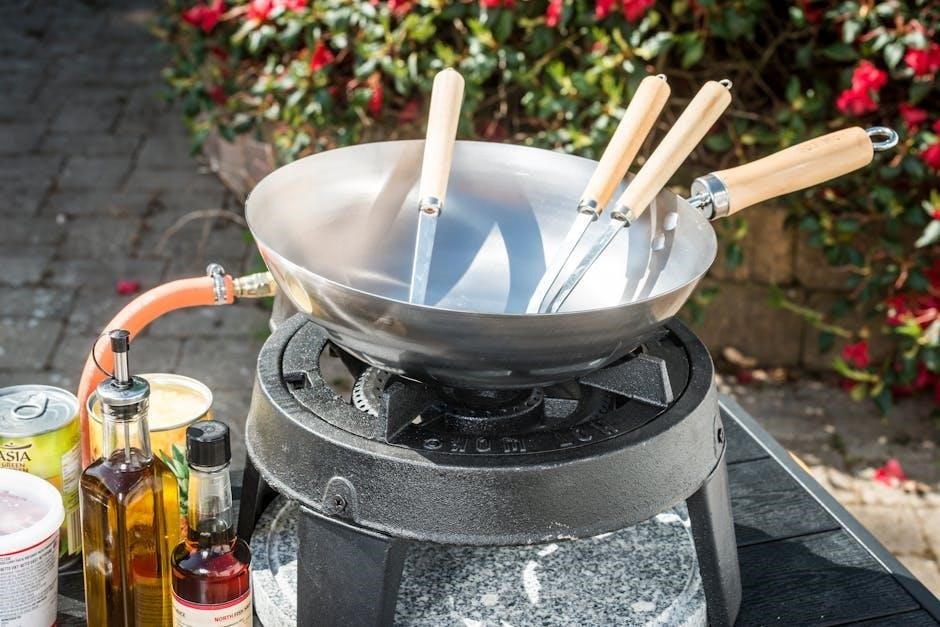
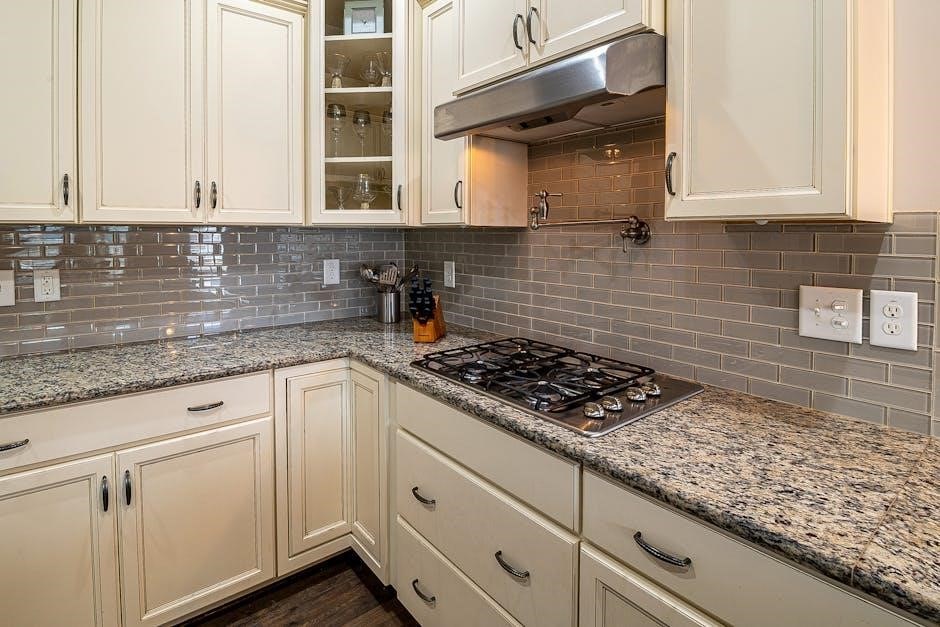
Burner Types and Their Specific Uses
Your GE Profile gas range features various burner types, each designed for specific cooking tasks. The owner’s manual details these differences, maximizing cooking efficiency.
Standard burners are ideal for everyday cooking, such as simmering sauces or boiling water. Power burners deliver higher heat output, perfect for rapid boiling and searing. The manual highlights their suitability for larger pots and pans.
Oval burners accommodate oval-shaped cookware, providing even heat distribution. Sealing burners, if equipped, are designed for specialized cookware like woks, offering concentrated heat.
The manual advises matching the burner size to the cookware base for optimal performance and energy conservation. Proper burner selection ensures efficient heating and prevents uneven cooking, enhancing your culinary experience.

Oven Functions and Settings
Explore diverse oven modes detailed in your GE Profile gas range manual, including baking, broiling, and convection options for versatile cooking results.
Master each setting to achieve perfect dishes!
Baking and Broiling Modes Explained
Understanding baking modes is crucial for optimal results. Your GE Profile gas range manual details standard bake, utilizing heat from the bottom element for consistent cooking. For even browning, explore the convection bake setting, employing a fan to circulate hot air.
Broiling offers intense, direct heat from the top element, ideal for searing and finishing dishes. The manual explains how to adjust rack positions for desired levels of browning. Remember to keep the oven door slightly ajar during broiling, as indicated in the instructions, to prevent overheating and ensure proper temperature regulation.

Precise temperature control and understanding these modes, as outlined in your owner’s manual, will elevate your culinary creations. Always refer to the manual for specific recommendations and safety guidelines related to each function.
Convection Baking – How it Works
Convection baking, detailed in your GE Profile gas range manual, utilizes a fan to circulate hot air throughout the oven cavity. This constant air movement ensures more even heat distribution, resulting in faster and more uniform cooking.
Benefits include reduced cooking times and enhanced browning. The manual explains that convection is particularly effective for baking multiple trays of cookies or roasting large cuts of meat. Adjustments to recipe temperatures are often recommended when using convection – typically reducing the temperature by 25°F.
Refer to your manual for specific convection settings and guidelines. Understanding how convection works will unlock a new level of baking precision and efficiency with your GE Profile range.
Self-Cleaning Cycle – A Step-by-Step Guide
The self-cleaning cycle, as outlined in your GE Profile gas range manual, offers a convenient way to maintain a pristine oven interior. Before initiating, remove all racks, cookware, and any loose debris. Ensure the oven door can fully lock.
Select the self-clean cycle on the control panel, choosing the desired cleaning duration (light, medium, or heavy). The door will automatically lock for safety during the high-temperature cleaning process.
Once complete, allow the oven to cool completely before unlocking the door and wiping away any remaining ash. Your manual provides crucial safety precautions and detailed instructions for optimal results and appliance longevity.

Special Features
Explore advanced functionalities like the temperature probe, warming drawer, and delay start options, detailed within your GE Profile gas range’s comprehensive owner’s manual.
Temperature Probe – Usage and Benefits

Achieve perfectly cooked meals with the GE Profile gas range’s temperature probe, a feature thoroughly explained in your owner’s manual. This invaluable tool allows for precise internal temperature monitoring during cooking, eliminating guesswork and ensuring food safety.
Simply insert the probe into the thickest part of the meat or poultry, set your desired final temperature on the control panel, and the oven will automatically shut off when that temperature is reached. The manual details proper probe placement for various food types, maximizing accuracy.
Benefits include consistently juicy and tender results, preventing overcooking or undercooking, and freeing you from constant temperature checks. Refer to your manual for specific instructions and safety guidelines regarding probe usage and cleaning.
Warming Drawer Functionality
The GE Profile gas range may include a warming drawer, a convenient feature detailed in your appliance’s manual. This drawer maintains food at serving temperature without further cooking, ensuring meals stay warm and delicious until ready to be enjoyed.
Your owner’s manual provides specific instructions on setting the warming drawer’s temperature and duration. It’s ideal for keeping side dishes, rolls, or plated meals warm. Remember to consult the manual for recommended warming times for different food types to prevent drying out.
Proper usage, as outlined in the manual, ensures optimal performance and food safety. The warming drawer is not intended for cooking or reheating, but for maintaining temperature.
Delay Start and Timer Settings
Your GE Profile gas range’s manual details the powerful Delay Start and Timer features, offering cooking convenience. The Delay Start allows you to set a time for the oven to begin cooking automatically, perfect for meal preparation. The timer function lets you set a duration, signaling when cooking is complete.
Consult the manual for precise instructions on programming these settings. It will guide you through setting the desired start time or cooking duration. These features enhance flexibility, allowing you to plan meals around your schedule.
Proper programming, as explained in the manual, is crucial for accurate operation and food safety. Always double-check settings before activating!
Care and Maintenance
Refer to your GE Profile gas range manual for detailed cleaning instructions and troubleshooting tips. Maintaining your appliance ensures optimal performance and longevity.
Cleaning the Cooktop and Burner Grates
Maintaining a pristine cooktop is essential for both aesthetics and performance. Your GE Profile gas range manual provides comprehensive guidance on cleaning procedures. For daily spills, a damp cloth and mild detergent are usually sufficient.
Burner grates require more attention. Remove them and wash with warm, soapy water. Stubborn residue may necessitate a non-abrasive cleaning pad. Ensure the burner ports are clear of debris for even flame distribution.
Avoid harsh chemicals or abrasive cleaners, as these can damage the cooktop’s surface. Regularly cleaning prevents buildup and ensures efficient operation. Consult the manual for specific recommendations regarding your model’s finish and materials.
Proper care extends the life of your GE Profile gas range.
Oven Cleaning – Manual and Self-Clean Options
Your GE Profile gas range offers both manual and self-cleaning oven options, detailed in your owner’s manual. The self-clean cycle utilizes high temperatures to burn away food residue – ensure proper ventilation during operation. Remove racks and any cookware before initiating this cycle.
For lighter cleaning, a manual approach is effective. Use a damp cloth and mild detergent to wipe down interior surfaces; Avoid abrasive cleaners, which can damage the oven lining. A paste of baking soda and water can tackle stubborn stains.
Always consult the manual for specific instructions and safety precautions related to both cleaning methods. Regular cleaning maintains oven performance and prevents unpleasant odors.
Proper oven maintenance ensures longevity.
Troubleshooting Common Issues
Your GE Profile gas range’s manual provides solutions to frequently encountered problems. If burners don’t ignite, check the gas supply and ensure the igniter is clean. A flickering flame may indicate low gas pressure or a blocked burner port – cleaning is often the solution.
For oven issues, verify the temperature settings and ensure the bake or broil element is functioning. If the self-clean cycle fails to start, confirm the door is fully locked. Error codes displayed on the control panel are explained in the manual.
Before contacting service, review the troubleshooting section. Many issues can be resolved with simple steps outlined in your owner’s manual, saving time and expense.
Refer to the manual for detailed guidance.

Installation Instructions (Brief Overview)
Proper installation is crucial! Your GE Profile gas range requires both a gas supply and electrical connection, detailed in the installation instructions manual.
Always consult a qualified technician for safe and compliant setup.
Gas Supply Connection Requirements
Ensuring a safe and efficient gas connection is paramount during the installation of your GE Profile gas range. The manual explicitly details the necessary requirements for your gas supply line.
Typically, a ½ inch or ¾ inch gas supply line is required, depending on the BTU rating of your specific model – always verify this in your manual. A shut-off valve must be installed in the gas supply line leading to the range, allowing for easy disconnection during maintenance or emergencies.
All connections must be leak-tested using a soap and water solution after installation. Never use a flame to check for leaks! The manual stresses the importance of adhering to local plumbing codes and regulations. If you are uncomfortable performing these connections, it is strongly recommended to hire a qualified and licensed gas technician to ensure a safe and compliant installation.
Electrical Connection Requirements
Your GE Profile gas range requires a dedicated 120V, 60Hz electrical connection, even though it utilizes gas for cooking. This electrical supply powers the electronic ignition system, the oven control, the display, and potentially other features like the warming drawer.
The manual specifies a three-prong grounded outlet is essential for safety. Do not under any circumstances remove the grounding prong. A separate circuit is highly recommended to prevent overloading and potential electrical hazards.
The appropriate circuit breaker size will be detailed in your range’s specific installation instructions – typically 15 or 20 amps. If you are unsure about electrical work, consult a qualified electrician. Improper electrical connections can lead to fire or damage to the appliance, voiding the warranty.
Warranty Information
GE Profile gas ranges come with a comprehensive warranty, details of which are found in your owner’s manual.
Registering your appliance promptly ensures full warranty coverage and access to important updates.
GE Profile Gas Range Warranty Details
Understanding your GE Profile gas range’s warranty is crucial for peace of mind. The specific coverage details are thoroughly outlined within the owner’s manual accompanying your appliance, and readily available for download on the GE Appliances website. Generally, the warranty covers defects in materials and workmanship for a specified period, typically one year from the date of original purchase.
Extended warranties may also be available for purchase, offering additional protection beyond the standard coverage. These extended plans can cover parts and labor for a longer duration, safeguarding against unexpected repair costs. It’s important to carefully review the terms and conditions of both the standard and extended warranties to understand what is covered and any limitations that may apply. Proper registration of your appliance is essential to activate the warranty and ensure seamless claims processing should the need arise.
How to Register Your Appliance
Registering your GE Profile gas range is a simple yet vital step to activate your warranty and ensure efficient service should you require assistance. You can conveniently register your appliance online through the official GE Appliances website. Locate the registration section and follow the prompts, typically requiring your model number, serial number, and purchase date.
Alternatively, you may be able to register via mail by completing and returning the registration card included with your owner’s manual. Keeping a record of your registration confirmation is highly recommended. Registration allows GE to notify you of important product updates, safety information, and potential recalls. Accessing your owner’s manual online provides direct links to the registration page, streamlining the process for a hassle-free experience.