Embark on an unforgettable journey! Discover the allure of Provence-Alpes-Côte d’Azur, famed for its vibrant culture, stunning landscapes, and delightful Mediterranean climate.
Welcome to a land of sunshine, lavender, and timeless beauty! The South of France, or le Midi as the locals call it, is a captivating region brimming with diverse landscapes, rich history, and a uniquely relaxed lifestyle. From the glamorous shores of the French Riviera to the rustic charm of Provence and the rugged beauty of Languedoc-Roussillon, this corner of France offers something for every traveler.
Imagine strolling through vibrant markets overflowing with local produce, sipping rosé wine amidst rolling vineyards, or basking in the sun on pristine beaches. The South of France is a feast for the senses, a place where you can immerse yourself in art, culture, and the simple pleasures of life. Whether you’re seeking adventure, relaxation, or a taste of the good life, this region promises an unforgettable experience. Prepare to be enchanted by its captivating allure and discover why the South of France has inspired artists, writers, and dreamers for centuries.
Geographical Overview of Provence-Alpes-Côte d’Azur
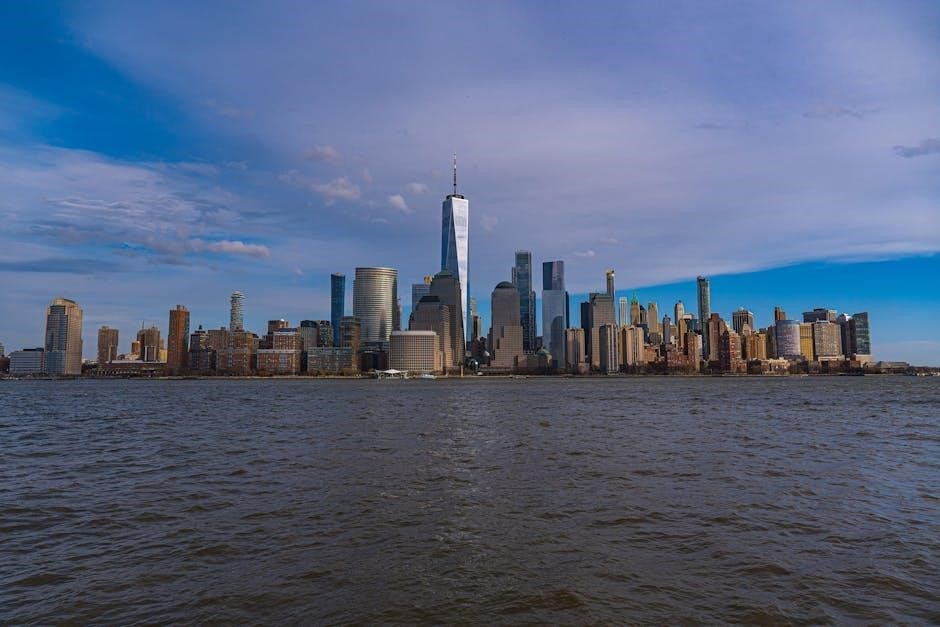
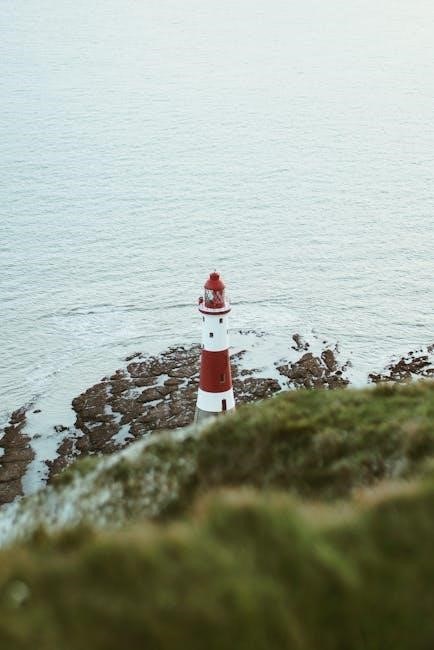
Provence-Alpes-Côte d’Azur (PACA) is a stunningly diverse region in southeastern France, bordering Italy and the Mediterranean Sea. Its geography is dramatically varied, encompassing the sun-drenched coastline of the French Riviera, the rugged peaks of the Alps, and the rolling hills and lavender fields of Provence; The coastline stretches for approximately 380 kilometers, offering picturesque bays, sandy beaches, and dramatic cliffs.
Inland, the landscape transitions to the mountainous terrain of the Alps, providing opportunities for hiking, skiing, and breathtaking views. Provence, the heart of the region, is characterized by its plateaus, valleys, and fertile plains. Key geographical features include the Rhône River delta, the Verdon Gorge (Europe’s Grand Canyon), and the Camargue wetlands, a haven for wildlife. This varied topography contributes to the region’s unique microclimates and diverse ecosystems, making it a truly exceptional destination.
Understanding the Different Regions
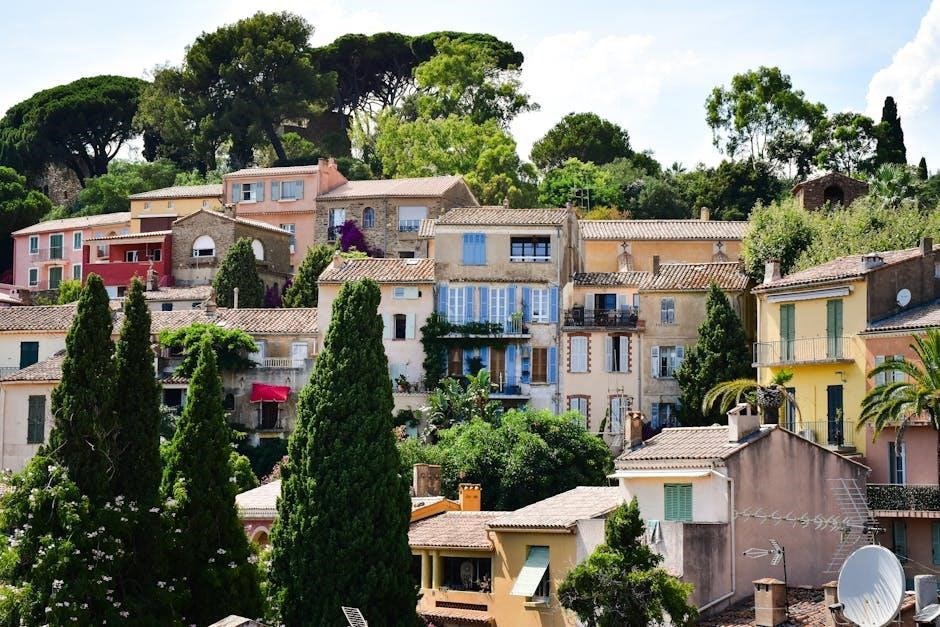
Provence-Alpes-Côte d’Azur is comprised of six distinct departments, each offering a unique character and appeal. The French Riviera (Côte d’Azur) is famed for its glamour, beaches, and vibrant cities like Nice and Cannes. Provence, inland, evokes images of lavender fields, charming villages, and historical sites like Avignon. Languedoc-Roussillon, while sometimes considered separately, shares cultural similarities and offers a more rugged, less-touristed experience.

The Alpes-de-Haute-Provence department boasts stunning mountain scenery and outdoor activities. Vaucluse is known for its picturesque landscapes and wine production. Finally, Bouches-du-Rhône encompasses Marseille, a bustling port city with a rich history. Understanding these regional nuances is key to planning a trip tailored to your interests, whether you seek coastal relaxation, cultural immersion, or alpine adventures.
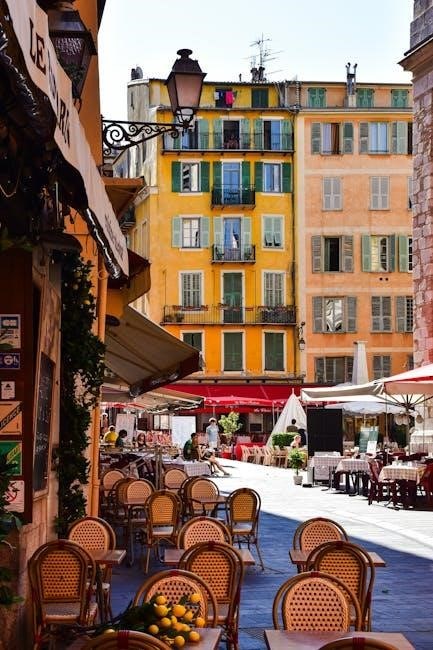
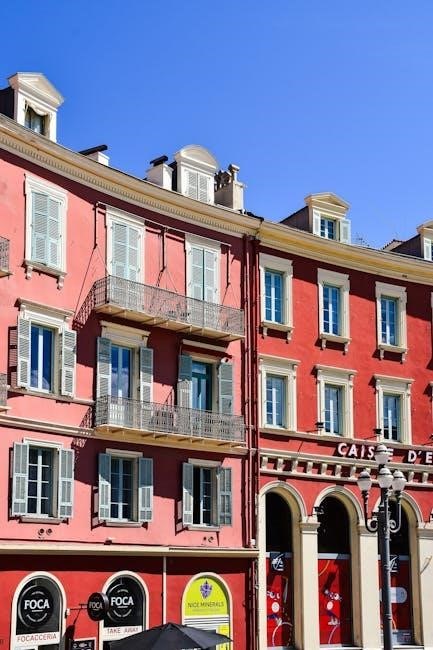
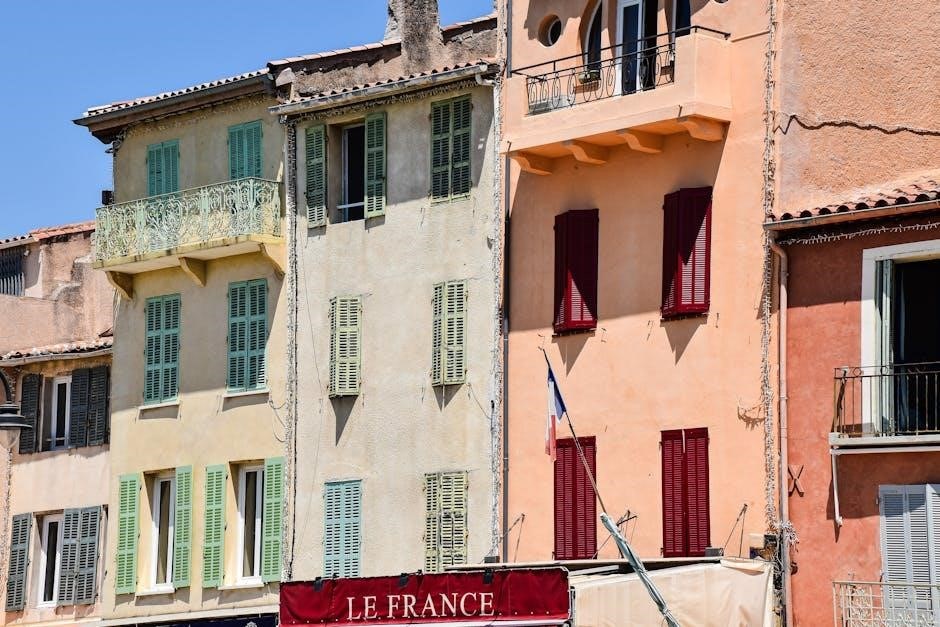
The French Riviera (Côte d’Azur)
The Côte d’Azur, or French Riviera, is synonymous with luxury and breathtaking coastal beauty. Stretching from Saint-Tropez to Menton, this glamorous stretch of coastline boasts azure waters, pebble beaches, and iconic towns. Nice, the region’s heart, offers a vibrant atmosphere, stunning architecture, and a famous promenade. Cannes is globally recognized for its annual film festival, attracting stars and cinephiles alike.
Beyond the glitz, discover charming villages like Èze, perched high above the sea, and Antibes, with its Picasso Museum. Enjoy world-class dining, designer shopping, and a lively nightlife. The Riviera’s mild climate makes it a year-round destination, though summer sees the highest influx of visitors. Prepare for a sophisticated and unforgettable experience!
Provence
Provence captivates with its rustic charm, rolling hills, and fragrant lavender fields. This region offers a slower pace of life, steeped in history and tradition. Explore Avignon, the “City of Popes,” with its magnificent Palais des Papes. Aix-en-Provence, a university town, is renowned for its art, culture, and bustling markets, offering local produce and crafts.
During July and August, witness the spectacular bloom of lavender, transforming the landscape into a purple paradise. August also brings vibrant sunflower routes. Spring is an excellent time to visit, with pleasant temperatures and blooming flowers. Indulge in world-class wine tasting, savor Provençal cuisine, and immerse yourself in the region’s artistic heritage. Provence is a feast for the senses!
Languedoc-Roussillon
Languedoc-Roussillon, now part of Occitanie, presents a diverse landscape stretching from the Mediterranean coast to the foothills of the Pyrenees. Discover historic cities like Montpellier, with its elegant architecture, and Narbonne, boasting Roman ruins. This region offers a compelling blend of culture, history, and natural beauty, often less crowded than the Riviera or Provence.
Explore charming coastal towns and enjoy pristine beaches. The region is a haven for outdoor enthusiasts, with opportunities for hiking, cycling, and water sports. Wine lovers will appreciate the diverse vineyards producing robust Languedoc wines. Spring and fall provide ideal weather for exploration, avoiding the peak summer crowds. Experience authentic French life and uncover hidden gems in this captivating region!
Planning Your Trip
Strategic planning ensures a seamless adventure! Consider the ideal season, transportation, and accommodation options for an unforgettable South of France experience.
Best Time to Visit the South of France
Determining the optimal time to visit unlocks the South of France’s full potential. July reigns supreme for overall enjoyment, coinciding with peak lavender season alongside vibrant poppies in June and stunning sunflowers blooming into September. However, August sees a surge in visitors, including locals on holiday, leading to bustling crowds and potential business closures.
For a more relaxed experience, the shoulder seasons – Spring (April-May) and Fall (September-October) – offer a sweet spot. These months boast pleasant temperatures, fewer tourists, and the chance to witness the region’s beauty without the summer heat. Many find spring and fall to be the absolute best times to explore.
Late spring and early summer present ideal weather conditions, perfect for enjoying Provence’s landscapes and swimming pools, even into October, though days may shorten and temperatures cool. Ultimately, the best time depends on your priorities – vibrant blooms, bustling energy, or tranquil exploration.
Peak Season: July & August
July and August represent the height of the tourist season in the South of France, drawing visitors from across the globe seeking warm, sunny weather. This period coincides with the summer school holidays in Europe, resulting in increased crowds and a lively atmosphere throughout the region. Expect higher prices for accommodation and transportation during these months.
These are prime months for experiencing the region’s iconic blooms – lavender fields are at their most fragrant and visually stunning, while sunflowers paint the landscapes in golden hues. However, be prepared for bustling beaches, popular attractions, and potentially long queues.
It’s also important to note that many local businesses, particularly administrative offices, may operate with reduced hours or mandatory employee vacations during this peak period. Booking accommodations and tours well in advance is highly recommended to secure your preferred options;
Shoulder Seasons: Spring (April-May) & Fall (September-October)
The shoulder seasons of Spring (April-May) and Fall (September-October) offer an excellent balance – pleasant weather, fewer crowds, and often more affordable prices compared to the peak summer months. Spring unveils a blossoming landscape, with wildflowers, wisteria, and broom shrubs adding vibrant color to the countryside. It’s a fantastic time for exploring gardens and enjoying outdoor activities without the intense summer heat.
Fall brings a warm, golden light and the harvest season, offering opportunities to sample local produce and wines. While the weather can be slightly more unpredictable than in summer, many days remain sunny and mild, perfect for sightseeing and leisurely exploration.
Increasingly, visitors are drawn to these seasons to avoid the summer heat and enjoy a more relaxed experience. These months provide a truly authentic taste of the South of France.
Late Spring/Early Summer – Ideal Weather
Late spring and early summer present arguably the most idyllic conditions for exploring the South of France. Provence particularly shines during this period, offering warm, sunny days perfect for enjoying the outdoors. While October can still offer swimming pool weather, the days become shorter and cooler, making late spring/early summer a safer bet for consistent sunshine.
This timeframe allows visitors to experience the region’s beauty before the peak summer crowds arrive. It’s a sweet spot where the weather is reliably pleasant, and the atmosphere remains relatively relaxed.
Expect comfortable temperatures ideal for sightseeing, hiking, and enjoying the coastal areas. It’s a wonderful time to witness the landscapes transitioning into their full summer glory.
Average Temperatures Throughout the Year
The South of France enjoys a classic Mediterranean climate, boasting warm, dry summers and mild, wet winters. July consistently emerges as the warmest month overall, making it exceptionally appealing for beachgoers and sun-seekers. However, temperatures remain pleasant throughout much of the year, encouraging exploration during shoulder seasons.
Spring (April-May) sees average highs ranging from 18°C to 23°C (64°F to 73°F), while autumn (September-October) offers similar conditions. Summer months (June-August) typically experience highs between 25°C and 30°C (77°F and 86°F), occasionally exceeding 30°C. Winter (November-March) is milder than many other parts of France, with average highs around 10°C to 15°C (50°F to 59°F).
These averages vary slightly depending on the specific region, with the coastal areas generally warmer than the inland Provence region.
Transportation Options
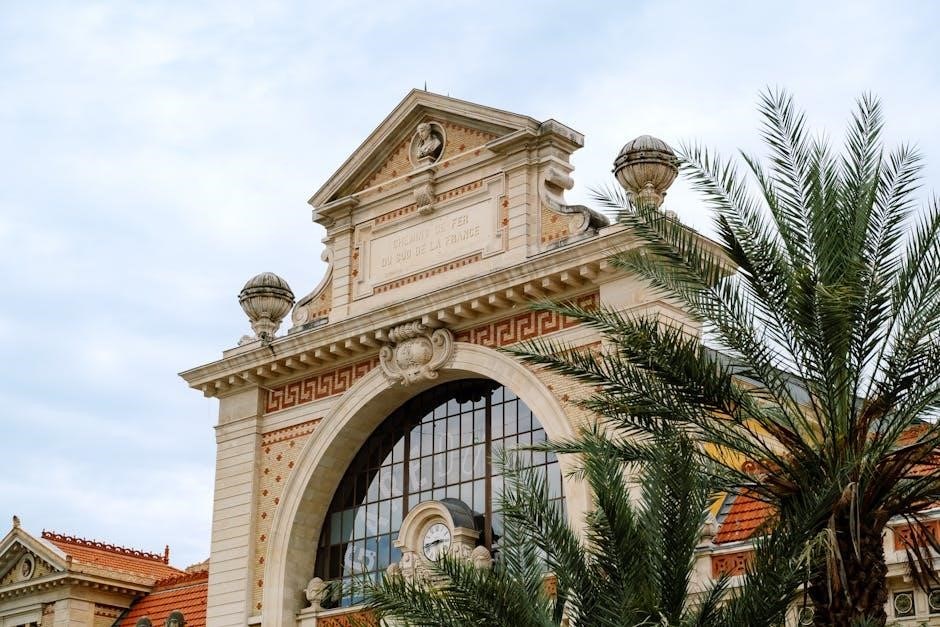
Navigating the South of France offers diverse choices, catering to varied preferences and budgets. Several international airports serve the region, including Nice Côte d’Azur Airport (NCE), Marseille Provence Airport (MRS), and Toulouse–Blagnac Airport (TLS), providing convenient access from global destinations. An extensive high-speed train network, operated by SNCF, connects major cities and towns, offering a comfortable and efficient travel experience.
Within the region, deciding between car rental and public transport depends on your itinerary. Renting a car grants flexibility to explore remote villages and scenic routes, particularly in Provence. However, parking can be challenging in cities like Nice and Marseille. Public transport, including buses and trams, is readily available and cost-effective for urban exploration.
Consider a combination of both for optimal convenience.
Getting There: Airports & Train Stations
Reaching the South of France is remarkably straightforward thanks to a well-developed transportation infrastructure. Numerous international airports provide direct connections from across the globe. Nice Côte d’Azur Airport (NCE) is the busiest, serving the French Riviera, while Marseille Provence Airport (MRS) caters to Provence and beyond. Toulouse–Blagnac Airport (TLS) is another key entry point, particularly for exploring the western parts of the region.
France’s high-speed rail network (SNCF) is exceptionally efficient. The TGV (Train à Grande Vitesse) connects Paris to major cities like Nice, Marseille, and Avignon in just a few hours. Regional trains offer access to smaller towns and villages. Major train stations include Gare de Nice-Ville, Marseille Saint-Charles, and Avignon TGV station.
Planning ahead and booking tickets in advance, especially during peak season, is highly recommended.
Getting Around: Car Rental vs. Public Transport
Navigating the South of France offers diverse options, each with its advantages. Renting a car provides ultimate flexibility, allowing exploration of remote villages, lavender fields, and coastal roads at your own pace. However, parking in cities like Nice and Marseille can be challenging and expensive.
Public transport is a viable alternative, particularly for city-to-city travel. The train network is extensive and reliable, connecting major destinations efficiently. Local buses serve smaller towns, but schedules can be infrequent. Consider a combination of both – utilize trains for longer distances and buses for local exploration.
For those prioritizing convenience and willing to bear the cost, car rental is ideal. If you prefer a relaxed pace and eco-friendly travel, public transport is an excellent choice.
Must-See Destinations
Explore iconic cities and charming towns! From the glamour of Cannes and Nice to the historic streets of Avignon and Marseille, adventure awaits.
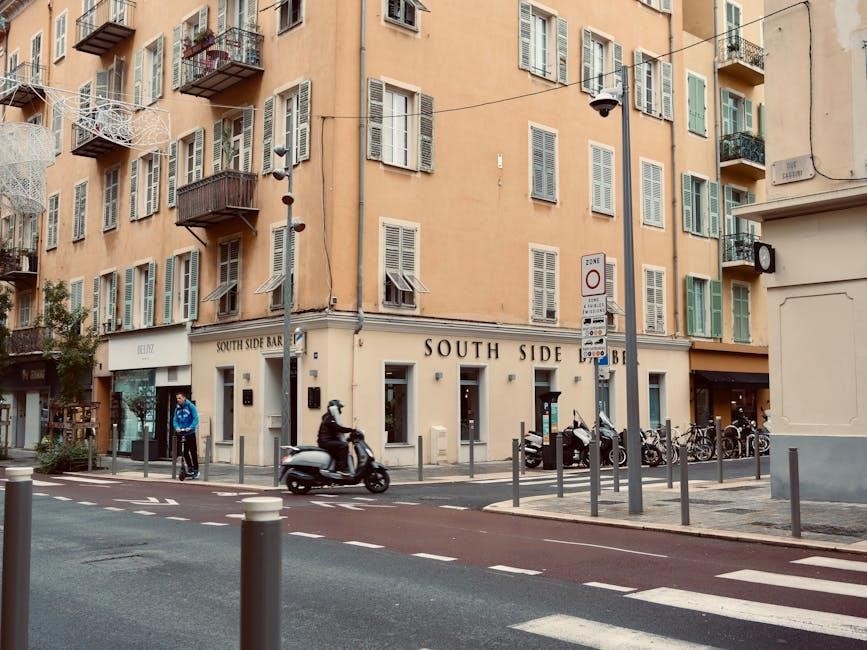
Nice: The Heart of the French Riviera
Nice truly embodies the spirit of the Côte d’Azur. This captivating city seamlessly blends historical charm with modern vibrancy, offering an unforgettable experience for every traveler. Stroll along the iconic Promenade des Anglais, a breathtaking coastal walkway perfect for soaking up the Mediterranean sun and enjoying panoramic sea views.
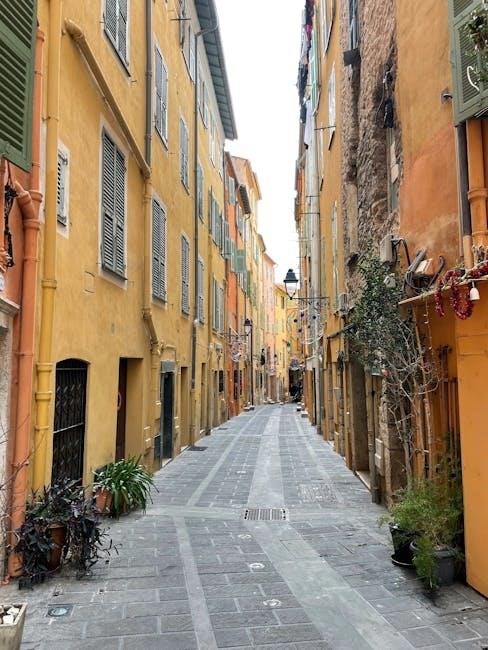
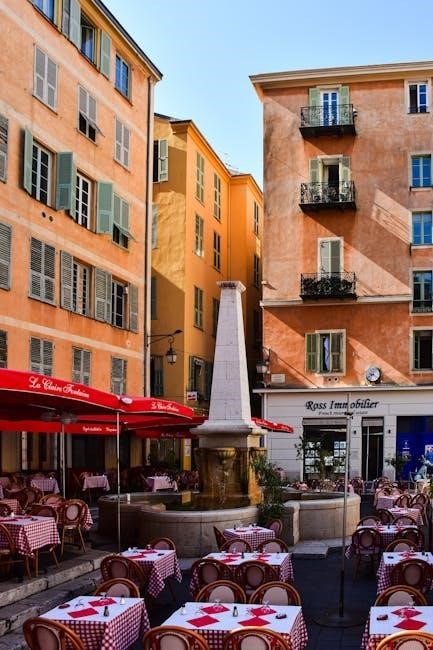
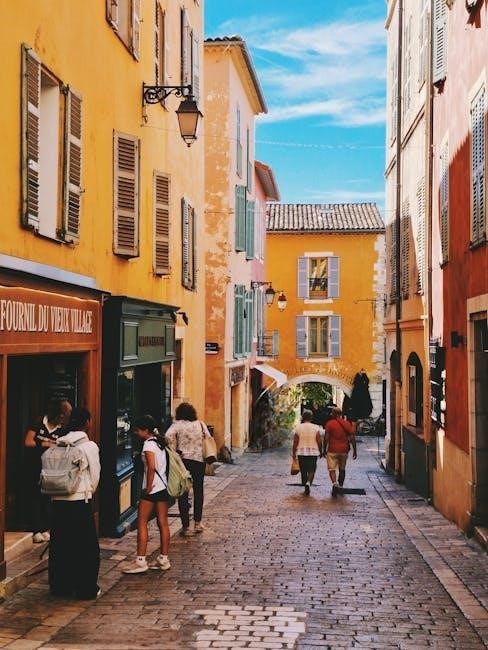
Delve into the narrow, winding streets of Vieux Nice (Old Town), a labyrinth of colorful buildings, bustling markets, and inviting restaurants. Discover local delicacies like socca, a savory chickpea pancake, and indulge in fresh seafood. Explore the Musée Matisse, showcasing the works of the renowned artist Henri Matisse, who spent much of his life in Nice.
For stunning views of the city and coastline, climb Castle Hill (Colline du Château). Nice also serves as an excellent base for exploring nearby towns and villages along the French Riviera, making it a central hub for adventure and relaxation.
Cannes: Glamour and Film Festivals
Cannes is synonymous with luxury, elegance, and of course, the world-famous Cannes Film Festival. Beyond the glitz and glamour, this captivating city offers a delightful blend of beautiful beaches, upscale boutiques, and charming Old Town streets.
Walk along La Croisette, the iconic palm-lined boulevard, and admire the luxurious hotels and designer shops; During the Film Festival in May, the city buzzes with excitement as celebrities and filmmakers from around the globe descend upon Cannes. Even outside of the festival, you can feel the star-studded atmosphere.
Explore Le Suquet, the historic Old Town, with its narrow, winding streets and panoramic views of the bay. Relax on the sandy beaches, enjoy water sports, or take a boat trip to the nearby Lérins Islands. Cannes provides a sophisticated and unforgettable Riviera experience.
Marseille: A Vibrant Port City
Marseille, France’s second-largest city, is a captivating melting pot of cultures and a bustling Mediterranean port. Steeped in history and brimming with energy, it offers a unique and authentic French experience, distinct from the glamour of the Riviera.
Explore the Vieux-Port (Old Port), the heart of Marseille, and watch the fishing boats come and go. Visit the iconic Notre-Dame de la Garde basilica, perched atop a hill, offering breathtaking panoramic views of the city and the sea. Wander through the vibrant Le Panier district, with its narrow streets, colorful buildings, and artisan shops.
Indulge in the city’s diverse culinary scene, influenced by North African and Mediterranean flavors. Marseille is a city that awakens the senses and offers a truly unforgettable adventure.
Avignon: The City of Popes
Avignon, a UNESCO World Heritage site, is a city steeped in medieval history, famously serving as the seat of the Catholic papacy during the 14th century. Dominated by the magnificent Palais des Papes (Palace of the Popes), a formidable Gothic fortress, Avignon transports visitors back in time.
Explore the Palais des Papes, a sprawling complex showcasing opulent chambers and stunning frescoes. Walk along the Pont d’Avignon (Saint-Bénézet Bridge), a partially-preserved medieval bridge immortalized in the famous French song. Wander through the charming cobbled streets of the historic center, discovering hidden squares and delightful shops.
Avignon hosts the renowned Festival d’Avignon, a major international performing arts festival held each summer. Experience the city’s vibrant cultural scene and immerse yourself in its rich heritage.
Aix-en-Provence: Art, Culture, and Markets
Aix-en-Provence, the birthplace of post-impressionist painter Paul Cézanne, exudes an elegant and artistic atmosphere. This charming city is renowned for its tree-lined boulevards, historic architecture, and lively cultural scene. Cours Mirabeau, the city’s main thoroughfare, is a perfect place to stroll and soak up the ambiance.
Explore Cézanne’s studio, Atelier Cézanne, and follow in the footsteps of the master. Discover numerous art galleries and museums showcasing both contemporary and classical works. Aix-en-Provence is also famous for its bustling markets, offering a vibrant array of local produce, flowers, and crafts.
Indulge in the Provençal lifestyle, savoring delicious cuisine and enjoying the city’s sophisticated charm. Aix is a delightful destination for art lovers, foodies, and those seeking a taste of authentic Provence.
Experiences & Activities
Immerse yourself in Provençal life! From vibrant lavender fields and sunflower routes to exploring local markets and indulging in exquisite wine tasting, adventure awaits.
Lavender Fields in Bloom (July-August)
Witness a breathtaking spectacle! July and August mark the peak season for lavender blooms in the South of France, transforming the countryside into a fragrant purple paradise. The Valensole Plateau is arguably the most iconic location, offering vast, rolling fields stretching as far as the eye can see. However, the Luberon Valley and Sault also boast stunning lavender landscapes.
Planning your visit around this period allows for incredible photo opportunities and the chance to experience the lavender harvest firsthand. Many farms offer tours, workshops, and the opportunity to purchase lavender products – from essential oils and soaps to honey and culinary delights. Be prepared for crowds, especially during the first three weeks of August, as both locals and international tourists flock to witness this natural wonder. Consider visiting during the shoulder season (late June or early September) for a slightly less crowded experience, though bloom intensity may vary.
Don’t forget to check bloom reports before your trip, as weather conditions can impact the flowering schedule. This truly is an unforgettable sensory experience!
Sunflower Routes (August-September)
Embark on a golden adventure! As July transitions into August and September, the South of France unveils another stunning floral display: fields of vibrant sunflowers. Following dedicated “sunflower routes” allows visitors to immerse themselves in these cheerful landscapes, particularly in the regions of Provence and Languedoc-Roussillon. These routes often wind through picturesque villages and alongside lavender fields, creating a truly captivating experience.
The best time to witness the sunflowers in full bloom is typically from mid-August to mid-September, though this can vary depending on the weather. Many routes are easily navigable by car, offering ample opportunities to stop for photos and explore local farms. Some farms even offer sunflower-themed events and workshops.
Combine your sunflower exploration with wine tasting in nearby vineyards or visits to charming Provencal markets. It’s a fantastic way to experience the region’s beauty and agricultural heritage, creating lasting memories of the South of France.
Exploring Local Markets
Immerse yourself in Provençal life! A visit to the South of France isn’t complete without experiencing its vibrant local markets. These bustling hubs offer a feast for the senses, brimming with fresh produce, regional specialties, artisanal crafts, and the lively chatter of locals. From sprawling farmer’s markets to smaller village gatherings, each market possesses a unique charm.
You’ll discover an abundance of seasonal fruits and vegetables, fragrant herbs, locally produced cheeses, olives, tapenades, and cured meats. Don’t miss the opportunity to sample regional delicacies and interact with the passionate producers. Markets are also excellent places to find unique souvenirs, including lavender products, pottery, and textiles.
Many markets take place weekly, so check local listings to find one near your destination. Arrive early for the best selection and be prepared to bargain respectfully. It’s a truly authentic way to connect with the culture and savor the flavors of the South of France.
Wine Tasting in Provence
Indulge in the flavors of the region! Provence is renowned for its exceptional wines, particularly its rosé, but also boasting excellent reds and whites. A wine tasting experience is a must for any visitor. The region’s unique terroir, influenced by the Mediterranean climate and diverse soil types, contributes to the distinctive character of its wines.
Numerous vineyards offer tours and tastings, ranging from small family-run estates to larger, more established wineries. You can learn about the winemaking process, from grape to bottle, and sample a variety of wines paired with local cheeses and charcuterie. Many vineyards are set amidst stunning landscapes, providing a picturesque backdrop for your tasting.
Consider exploring the Côtes de Provence, Côtes du Rhône, and Bandol appellations. Booking a guided wine tour is a convenient way to discover several vineyards and enjoy a hassle-free experience. Remember to drink responsibly and savor the moment!
Beach Relaxation & Water Sports
Soak up the sun and embrace the Mediterranean! The South of France boasts a stunning coastline with numerous beaches catering to all tastes. From the glamorous sands of the French Riviera to the secluded coves of Provence, there’s a perfect spot for everyone to unwind and enjoy the sunshine.
Beyond simply relaxing on the beach, the region offers a wealth of water sports activities. Try your hand at windsurfing, kitesurfing, jet skiing, or paddleboarding. Snorkeling and scuba diving are popular options for exploring the underwater world. Many beaches offer rentals and lessons for various water sports.
For a more leisurely experience, consider a boat trip along the coast, or simply enjoy a refreshing swim in the crystal-clear waters. July is an especially fantastic time to head to the beach, but remember to stay hydrated and protect yourself from the sun!