Guide rulers are essential tools for precise measurement and drawing straight lines‚ utilized in diverse settings like schools and digital design workflows.
What is a Guide Ruler?
A guide ruler is fundamentally a measurement tool designed to ascertain an object’s length or edge with precision. Beyond simple measurement‚ it serves as a crucial guide for creating and scoring perfectly straight lines. These tools are ubiquitous‚ appearing in educational environments and professional design contexts alike.
Whether physical or digital‚ rulers provide a standardized reference for accurate work. They enable users to consistently replicate dimensions and maintain alignment‚ vital for both artistic endeavors and technical applications.
The Importance of Accurate Measurement
Accurate measurement‚ facilitated by guide rulers‚ is paramount across numerous disciplines. In education‚ it builds foundational math skills and spatial reasoning. Professionally‚ precision ensures projects align with specifications‚ minimizing errors and costly rework.
Whether constructing buildings‚ designing graphics‚ or crafting handmade items‚ reliable measurements guarantee functionality and aesthetic appeal. A slight inaccuracy can compromise an entire project‚ highlighting the ruler’s critical role.
Types of Guide Rulers
Guide rulers manifest in various forms: page guides‚ spread guides‚ traditional physical rulers‚ and versatile digital rulers integrated within design software platforms.
Page Guides vs. Spread Guides
Page guides assist in defining the boundaries of individual pages within a document‚ offering focused measurement and alignment for single-page layouts. Conversely‚ spread guides extend across two facing pages‚ crucial for designs intended to span a book or magazine spread.
These guides‚ activated by showing rulers‚ provide visual cues for consistent element placement. Understanding the distinction between these guide types is fundamental for maintaining visual harmony and professional presentation across multi-page projects‚ ensuring seamless design flow.
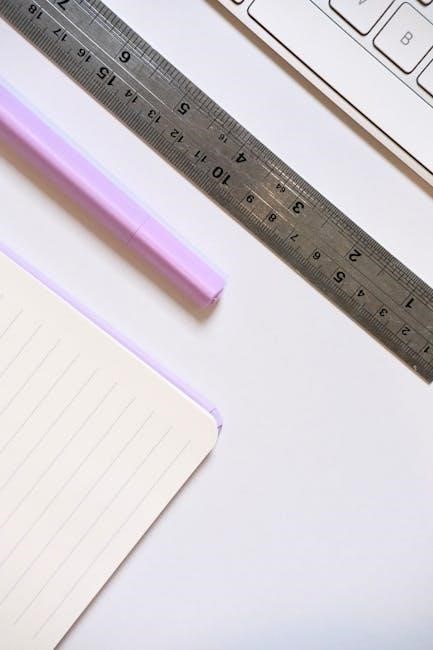
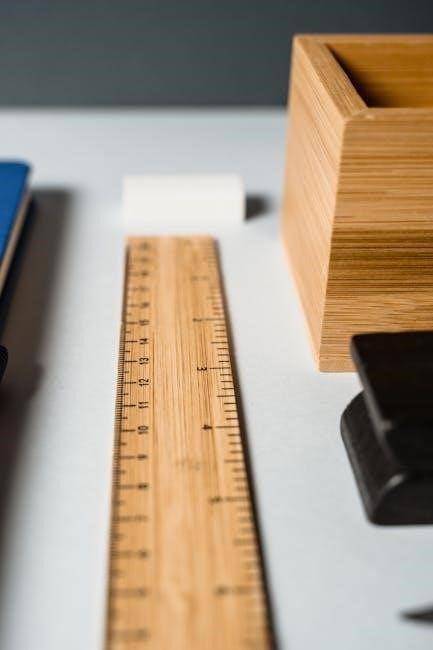
Traditional Physical Rulers
Traditional physical rulers serve as foundational tools for measuring object lengths and edges with precision‚ and act as guides for drawing or scoring straight lines. These come in various materials like metal‚ plastic‚ and wood‚ each offering unique benefits.
They remain indispensable in schools and workshops‚ providing a tactile and direct measurement experience. Their simplicity and reliability make them a cornerstone of many design and construction processes‚ despite the rise of digital alternatives.
Digital Rulers in Design Software
Digital rulers within design software‚ like Motion‚ offer a dynamic approach to composition and alignment. These virtual tools facilitate precise element positioning by allowing users to snap objects directly to the ruler’s markings.
Combined with guides‚ they enhance project accuracy and streamline workflows. Features like customizable cursors further refine control‚ enabling designers to create visually harmonious layouts efficiently. They represent a powerful evolution of the traditional guide ruler concept.

Materials Used in Ruler Construction
Rulers are crafted from diverse materials including metal (steel‚ aluminum)‚ plastic (acrylic‚ polycarbonate)‚ and wood‚ each offering unique properties for varied applications.
Metal Rulers: Steel‚ Aluminum
Metal rulers‚ commonly made from steel or aluminum‚ are prized for their durability and resistance to bending or warping‚ ensuring long-lasting accuracy. Steel rulers offer exceptional rigidity‚ making them ideal for demanding tasks requiring precise lines and measurements. Aluminum rulers provide a lighter-weight alternative‚ still maintaining good strength and dimensional stability.
These materials are often preferred in professional settings where consistent‚ reliable performance is crucial. Their smooth surfaces also facilitate clean cuts when used with a craft knife or blade‚ enhancing their versatility.
Plastic Rulers: Acrylic‚ Polycarbonate
Plastic rulers‚ crafted from materials like acrylic or polycarbonate‚ present a cost-effective and versatile option for various measuring and drawing needs. Acrylic rulers are known for their clarity‚ allowing for easy viewing of the surface beneath‚ while polycarbonate offers superior impact resistance and durability.
These materials are lighter than metal‚ making them comfortable for extended use‚ and are less prone to scratching surfaces. They are widely used in schools‚ offices‚ and crafting projects.
Wood Rulers: Traditional and Specialized Uses
Wood rulers represent a classic choice‚ steeped in tradition and often favored for specialized applications. Historically‚ wood was a primary material for ruler construction‚ offering a warm aesthetic and comfortable grip. While less common for general use today‚ wood rulers still find favor in woodworking‚ carpentry‚ and fine arts.
Their natural grain and feel appeal to artisans‚ and they are sometimes preferred for marking softer materials to avoid damage.

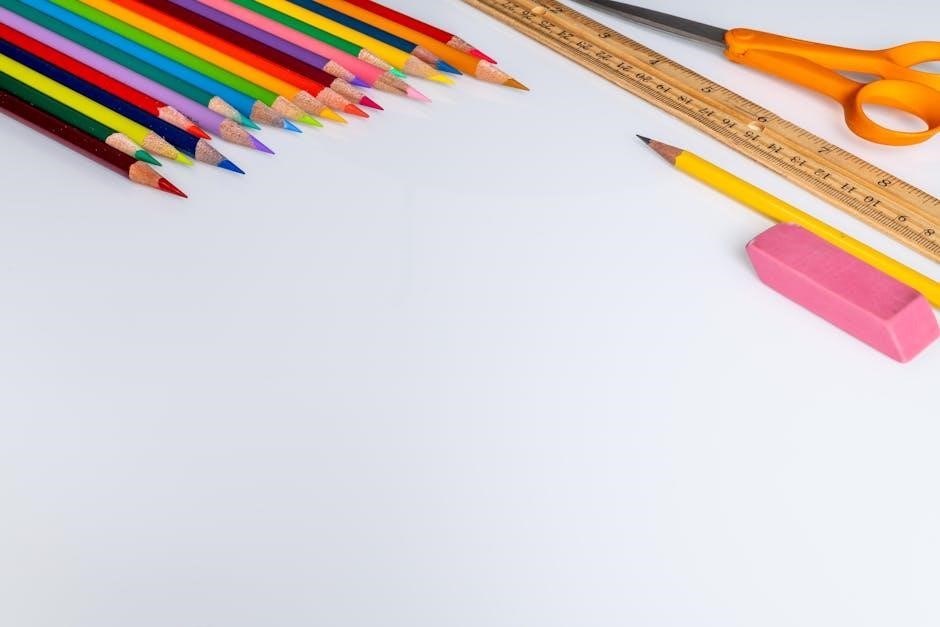
Common Measuring Tools & Rulers
Various rulers‚ like pull-push‚ zigzag‚ and standard types‚ are frequently used alongside T-squares for drawing horizontal lines and precise measurements.
Pull-Push Rule
The pull-push rule stands as a common measuring tool‚ offering versatility in various applications. This type of ruler features a ribbon encased within a housing‚ extending and retracting for convenient distance measurements. It’s particularly useful when needing to measure lengths that exceed the capacity of a standard ruler.
While not directly a guide for drawing like a T-square paired with a ruler‚ the pull-push rule provides the foundational measurements needed for accurate layouts and constructions‚ ensuring precision in projects requiring linear dimensions.
Zigzag Rule
The zigzag rule is another valuable measuring tool‚ distinguished by its foldable‚ interlocking segments. This design allows the rule to be easily collapsed for compact storage and extended to measure both straight and contoured surfaces. It’s particularly adept at navigating around obstacles or measuring irregular shapes where a rigid ruler would be impractical.
Though not a direct guide for drawing‚ the zigzag rule’s flexibility aids in obtaining accurate measurements crucial for establishing dimensions in design and construction projects.
Standard Ruler
The standard ruler remains a foundational measuring tool‚ prized for its simplicity and directness. Typically constructed from metal‚ plastic‚ or wood‚ it features linear markings for precise length determination. Rulers are fundamentally used to measure an object’s length or edge accurately‚ and crucially‚ serve as a reliable guide for drawing and scoring perfectly straight lines.
Its straightforward design makes it accessible for various applications‚ from basic schoolwork to professional drafting.
Using Rulers for Drawing & Measurement
Rulers facilitate accurate drawing of straight lines and precise measurement of length and width‚ often paired with tools like a T-square for guidance.
Drawing Straight Lines with a Ruler
Utilizing a ruler to draw straight lines is a fundamental skill across many disciplines. Position the ruler firmly on the desired line path‚ ensuring it doesn’t shift during the process. Apply consistent pressure with your drawing tool – be it a pencil‚ pen‚ or digital stylus – while gliding it along the ruler’s edge.
Maintaining a stable grip on both the ruler and the drawing instrument is crucial for achieving clean‚ accurate lines. For longer lines‚ consider using both hands to support the ruler‚ preventing wobbling and ensuring a straight result. Practice makes perfect‚ so experiment with different techniques to find what works best for you.
Measuring Length and Width
Rulers excel at accurately determining an object’s length or width. Align the zero mark of the ruler with one edge of the object‚ ensuring a precise starting point. Carefully observe where the opposite edge aligns with the ruler’s markings‚ noting the corresponding measurement unit – inches‚ centimeters‚ or fractions.
For enhanced precision‚ avoid parallax error by viewing the ruler directly above the measurement point. Repeat the measurement several times to confirm consistency and minimize potential inaccuracies. This simple process provides reliable dimensions for various applications.
Using a T-Square with a Ruler
A T-square serves as a guide for drawing perfectly horizontal lines and measuring lengths up to 48 inches. Proper manipulation involves firmly placing the T-square’s head against the edge of the drawing surface. Ensure the T-square’s blade is aligned parallel to the edge for accurate results.
When measuring‚ slide the ruler along the T-square’s blade‚ maintaining consistent contact. This combination guarantees straight‚ precise lines and reliable measurements‚ crucial for technical drawings and designs.
Horizontal Line Guidance
The T-square excels at providing unwavering guidance for drawing horizontal lines. By positioning the T-square’s head firmly against the drawing board’s edge‚ its blade establishes a reliable reference point. This ensures all lines drawn along the blade remain perfectly parallel to the board’s edge.
This method is fundamental for creating accurate layouts‚ architectural plans‚ and technical illustrations where precise horizontal alignment is paramount for professional results.
Measuring with a T-Square
Utilizing a T-square for measurement involves sliding it along the edge of your work surface‚ ensuring the head remains firmly pressed against the board. This allows for accurate measurement of lengths up to 48 inches‚ providing a stable and reliable guide.
Proper manipulation‚ keeping the head flush‚ guarantees precise readings and consistent results in drafting and design applications.
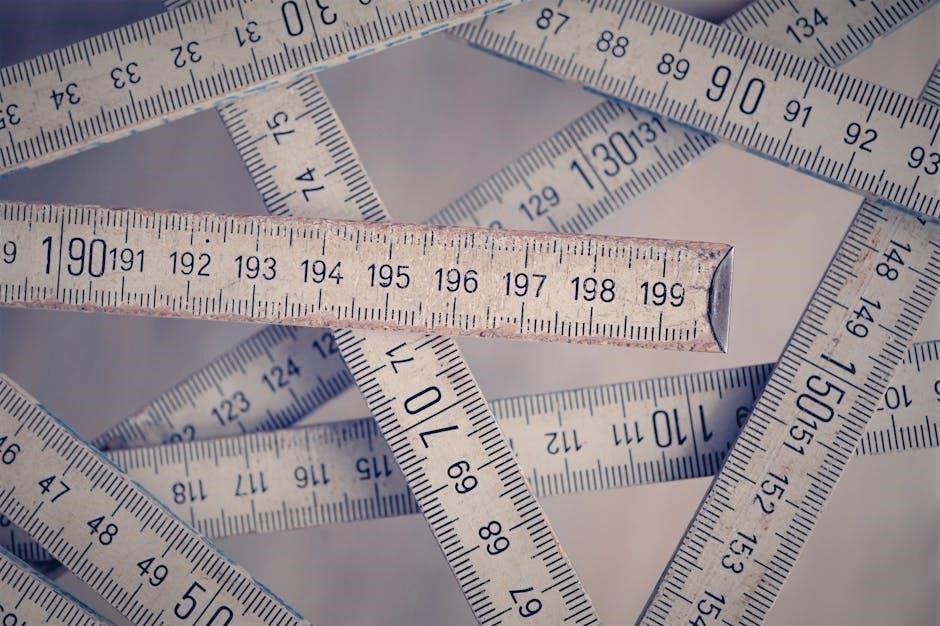
Understanding Ruler Markings
Rulers display measurements in metric (millimeters‚ centimeters)‚ fractional (inches)‚ or decimal formats‚ enabling users to select the most suitable system for their task.
Metric Rulers: Millimeters and Centimeters
Metric rulers utilize a decimal system‚ with millimeters (mm) as the smallest unit and centimeters (cm) as a larger‚ more convenient unit for broader measurements. Each centimeter is divided into ten millimeters‚ providing a high degree of precision.
These rulers are widely adopted internationally for scientific‚ engineering‚ and everyday applications due to their simplicity and ease of use. Understanding the relationship between millimeters and centimeters is crucial for accurate readings and conversions‚ ensuring consistent results across various projects and disciplines.
Fractional Rulers: Inches and Fractions
Fractional rulers‚ common in the United States‚ measure length in inches and utilize fractional increments – halves‚ quarters‚ eighths‚ and sixteenths – to denote smaller units. Each inch is divided into these fractions‚ allowing for precise measurements beyond whole numbers.
Reading these rulers requires familiarity with fractions; understanding how to interpret markings like 1/2‚ 1/4‚ or 1/16 is essential. They are frequently used in woodworking‚ construction‚ and other trades where detailed fractional measurements are necessary for accuracy.
Decimal Rulers: Inches and Decimal Values
Decimal rulers present measurements in inches and utilize decimal values‚ offering a different approach to precision compared to fractional rulers. Each inch is divided into ten decimal parts – tenths‚ hundredths‚ and even smaller increments – providing a highly granular measurement system.
These rulers are favored in scientific‚ engineering‚ and technical fields where decimal-based calculations are standard. Interpreting decimal rulers requires understanding decimal place values‚ enabling accurate readings to the nearest thousandth of an inch.
Tape Measures & Measuring Tapes
Tape measures‚ flexible rulers with linear markings‚ excel at measuring distances‚ offering convenience and portability for various applications and projects.
Flexibility and Distance Measurement
Measuring tapes distinguish themselves through exceptional flexibility‚ enabling accurate measurements of both straight and curved surfaces – a capability rigid rulers lack. This adaptability makes them ideal for diverse tasks‚ from tailoring and construction to interior design and landscaping.
Their design incorporates a ribbon marked with linear measurements‚ allowing for extended reach and convenient distance assessment. This feature is particularly valuable when dealing with larger objects or spaces where a standard ruler proves insufficient. The retractable mechanism further enhances usability‚ ensuring efficient storage and deployment.
Reading Tape Measure Markings
Tape measures present markings in various formats – inches‚ feet‚ metric units – demanding careful interpretation for accurate readings. Understanding the larger inch markings‚ alongside the finer fractional divisions (halves‚ quarters‚ eighths)‚ is crucial.
Often‚ different colored markings denote inches or feet‚ simplifying quick estimations. Mastering the ability to accurately identify and combine these markings ensures precise distance determination. Consistent practice is key to confidently and efficiently reading tape measure scales‚ minimizing errors in projects.
Rulers in Digital Design – Motion
In Motion‚ rulers and guides aid composition and alignment‚ enabling precise element placement and snapping objects directly to ruler markings for accuracy.
Rulers and Guides for Composition
Rulers and guides within digital design software‚ particularly in applications like Motion‚ are invaluable assets for achieving visually harmonious and well-structured compositions. They function as non-printing lines‚ offering a framework for aligning elements with precision. Designers leverage these tools to establish consistent spacing‚ maintain visual hierarchy‚ and ensure that all components within a project relate to each other in a deliberate and aesthetically pleasing manner.
Effectively utilizing rulers and guides streamlines the design process‚ reducing guesswork and promoting a polished‚ professional final product.
Snapping Objects to Rulers
Snapping objects to rulers is a powerful feature in digital design software that dramatically enhances precision and efficiency. When enabled‚ elements automatically align to the nearest ruler marking or guide line as you move them. This eliminates the need for manual pixel-perfect adjustments‚ ensuring accurate positioning and consistent spacing throughout your project.
This functionality is particularly useful for creating complex layouts and maintaining visual order‚ saving significant time and effort.

Advanced Ruler Features
Advanced features like dynamic guides and customizable cursors enhance ruler functionality‚ providing greater control and precision during design and measurement tasks.
Cursors and Mouse Control
Cursors‚ found within the drawing tool section‚ offer a valuable capability to modify your mouse pointer’s appearance as it navigates the workspace. This feature isn’t merely cosmetic; it directly impacts precision. Different cursor styles can highlight specific points or edges‚ aiding in accurate alignment and measurement.
By dynamically changing the cursor‚ users gain enhanced visual feedback‚ streamlining workflows and minimizing errors when interacting with rulers and guides within the design environment.
Dynamic Guides and Smart Guides
Dynamic and Smart Guides represent an evolution in ruler technology‚ offering intelligent assistance during design processes. These guides automatically appear as you move objects‚ snapping them to key points or aligning them with existing elements.
This functionality drastically improves workflow efficiency and accuracy‚ reducing the need for manual adjustments. They enhance composition and alignment‚ ensuring professional-looking results with minimal effort‚ leveraging the power of guide rulers.
Ruler Maintenance and Care
Proper care involves regular cleaning and careful storage to prevent damage and wear‚ ensuring the longevity and continued accuracy of your guide rulers.
Cleaning and Storage
Maintaining your guide rulers requires simple yet effective practices. Regularly wipe rulers with a soft‚ dry cloth to remove dust and debris‚ preventing scratches on the measuring surface. For stubborn marks‚ a slightly damp cloth with mild soap can be used‚ ensuring it’s thoroughly dried afterward.
Storage is equally crucial; avoid storing rulers in direct sunlight or extreme temperatures‚ which can cause warping or material degradation. A dedicated ruler case or a flat‚ protected space is ideal‚ preventing bending or accidental damage. Proper cleaning and storage will significantly extend the lifespan and accuracy of your valuable measuring tools.
Preventing Damage and Wear
To maximize the longevity of your guide rulers‚ avoid dropping them onto hard surfaces‚ as this can lead to cracks or bends‚ compromising accuracy. Refrain from using rulers as levers or applying excessive force‚ especially with plastic or wood varieties.
Protect the edges from impacts and sharp objects that could cause chipping or wear. Regularly inspect for any signs of damage and address them promptly. Careful handling and mindful usage are key to preserving the integrity and precision of your measuring instruments.
Ruler Accuracy and Calibration
Maintaining accuracy is crucial; regularly check for errors and utilize calibration techniques to ensure reliable measurements with your guide ruler for precise results.
Checking for Errors
Regularly verifying a guide ruler’s accuracy is paramount for dependable results. Compare readings against a known standard‚ like a calibrated ruler or measuring tape‚ across its entire length. Look for inconsistencies or deviations‚ especially at the ends or frequently used sections.
Any discrepancies indicate potential errors. Examine the ruler’s surface for physical damage – bends‚ cracks‚ or worn markings – as these can compromise precision. Consistent error patterns suggest a systematic issue requiring calibration or replacement.
Calibration Techniques
Calibrating a guide ruler involves comparing its measurements against a certified standard. Begin by measuring a known distance with both the ruler and the standard‚ noting any differences. For minor discrepancies‚ carefully mark the correct measurements on the ruler as reference points.
For significant errors‚ professional calibration services are recommended. Avoid attempting complex adjustments yourself‚ as this could worsen inaccuracies. Regularly checking and minor marking adjustments maintain acceptable precision for most applications.
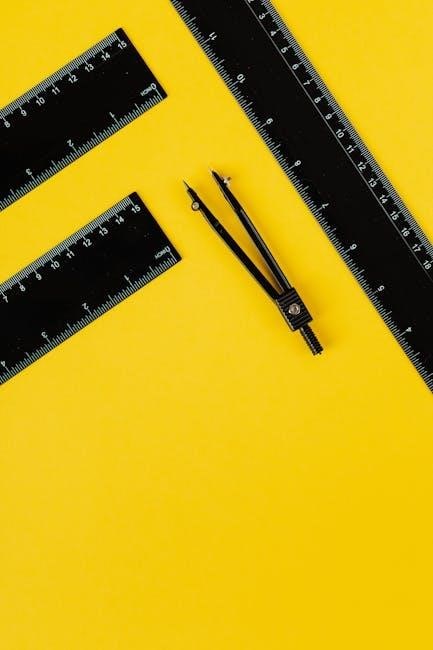
Specialized Rulers
Specialized rulers‚ like engineering‚ architectural‚ and map scales‚ cater to specific professional needs‚ offering precise measurements for detailed plans and designs.
Engineering Scales
Engineering scales are specialized rulers designed for professionals in fields like civil engineering and mechanical design. These rulers don’t display standard units like inches or centimeters directly; instead‚ they feature scales representing ratios‚ such as 1:20 or 1:50.
This allows engineers to accurately represent large structures or components on smaller drawings. Using these scales requires understanding the specific ratio and applying it to determine actual dimensions from the scaled representation. They are crucial for precise technical drawings and calculations.
Architectural Scales
Architectural scales‚ similar to engineering scales‚ are specialized rulers used by architects to create scaled drawings of buildings and structures. Common scales include 1/4 inch = 1 foot‚ 1/2 inch = 1 foot‚ and 3/8 inch = 1 foot‚ allowing detailed plans to fit on standard-sized paper.
These scales facilitate accurate representation of dimensions‚ ensuring proper proportions and feasibility during construction. Mastery of architectural scales is fundamental for architects and designers.
Map Scales
Map scales are specialized rulers designed for representing large geographical areas in a reduced format‚ crucial for cartography and navigation. These scales indicate the relationship between distance on the map and corresponding distance on the ground‚ often expressed as a ratio (e.g.‚ 1:24‚000).
Using map scales allows accurate measurement of distances and areas‚ essential for planning routes‚ analyzing terrain‚ and understanding spatial relationships.
Rulers in Education
Rulers effectively teach fundamental measurement concepts and actively contribute to the development of essential fine motor skills in students of all ages.
Teaching Measurement Concepts
Rulers provide a tangible way for students to grasp the abstract idea of measurement‚ transitioning from non-standard units to standardized metric and fractional systems. They learn to associate numerical values with physical lengths‚ fostering a concrete understanding of size and dimension.
Using rulers encourages comparison‚ estimation‚ and accurate recording of measurements. Educators can utilize rulers to introduce concepts like length‚ width‚ height‚ and perimeter‚ building a foundational skillset for future mathematical studies and practical applications.
Developing Fine Motor Skills
Rulers necessitate precise hand-eye coordination and control‚ as students learn to align the tool and accurately mark points along its scale. The act of drawing straight lines with a ruler strengthens small muscle groups in the hands and fingers‚ improving dexterity and control.
This focused manipulation enhances pencil grip‚ promotes steady movements‚ and refines overall fine motor skills – crucial for handwriting‚ art‚ and various everyday tasks requiring precision.
The Future of Guide Rulers
Future rulers may integrate with augmented reality and feature smart digital displays‚ enhancing precision and offering dynamic‚ interactive measurement experiences.
Integration with Augmented Reality
Augmented reality (AR) promises a revolutionary shift in how we utilize guide rulers. Imagine projecting a virtual ruler directly onto your workspace using a smartphone or AR glasses! This eliminates the need for physical tools‚ offering unparalleled flexibility and convenience. AR integration allows for dynamic‚ adaptable guides that adjust to any surface or angle‚ providing precise measurements in real-time. Complex designs and layouts become simpler to visualize and execute‚ as virtual rulers overlay the physical world‚ enhancing accuracy and streamlining workflows for professionals and hobbyists alike.
Smart Rulers with Digital Displays
Smart rulers represent the next evolution of measurement tools‚ incorporating digital displays for enhanced precision and functionality. These innovative devices can showcase measurements in multiple units‚ offer automatic conversions‚ and even store frequently used values. Integrated sensors could detect angles and curves‚ transmitting data wirelessly to design software. Digital displays minimize reading errors‚ while built-in memory allows for complex project tracking. Such rulers promise increased efficiency and accuracy‚ bridging the gap between traditional tools and modern digital workflows.