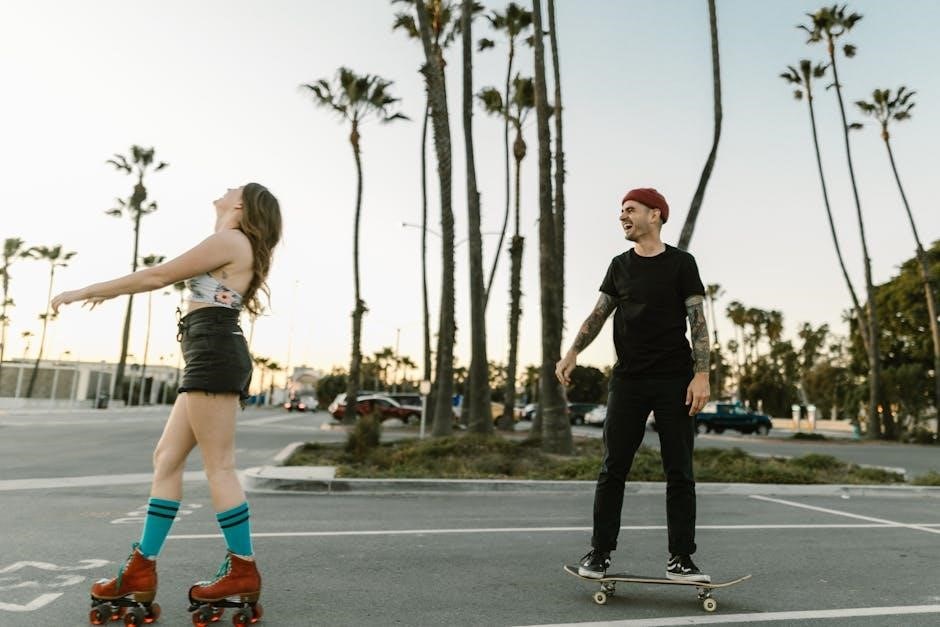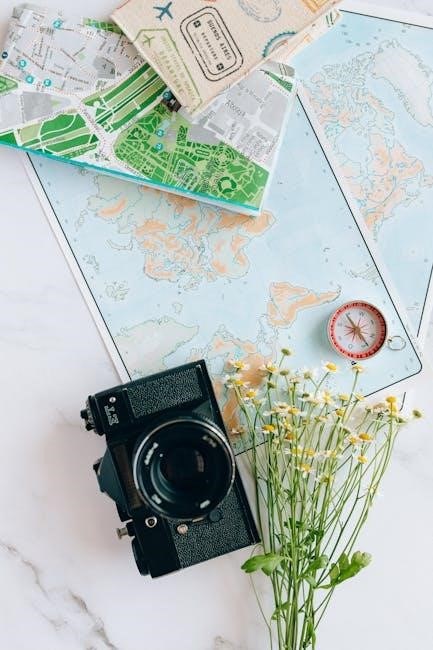
Montreal Sex Guide: An Overview (February 16, 2026)
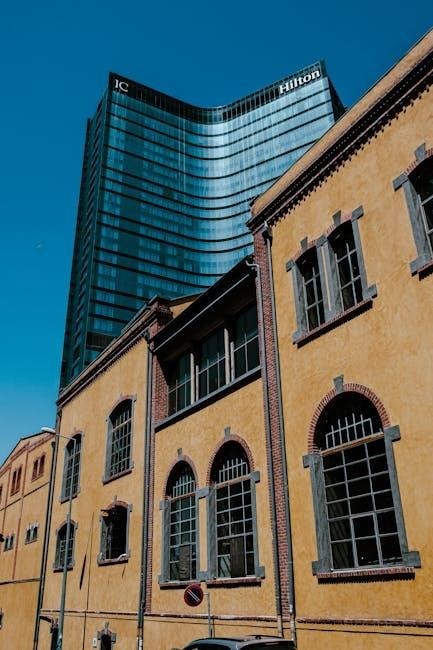
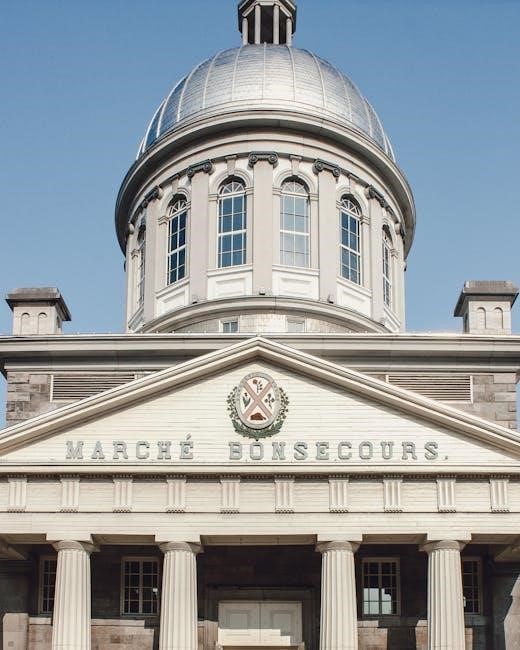
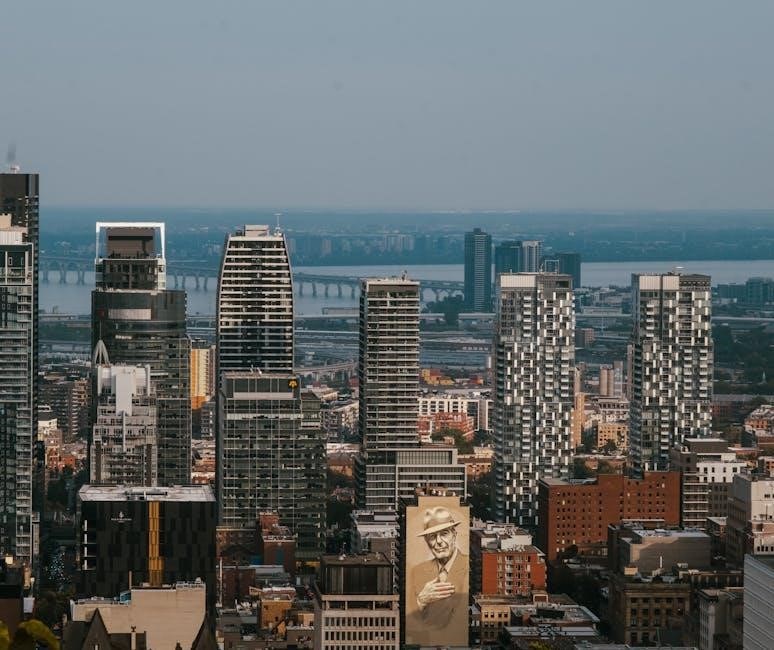
Montréal, Québec’s largest city, comprises 19 diverse boroughs, offering varied experiences for those seeking connections within its vibrant urban landscape․
Montreal’s dating scene is as diverse and multifaceted as the city itself, reflecting its unique blend of European charm and North American modernity․ Situated as Québec’s largest city, composed of 19 boroughs, it presents a wide array of opportunities for connection․ The city’s cultural landscape fosters a generally open and accepting atmosphere, though understanding local nuances is key․
Expect a mix of casual encounters and those seeking more serious relationships․ The prevalence of French language and culture adds a distinctive layer, influencing communication styles and social interactions․ Navigating this scene requires a blend of confidence, respect, and a willingness to embrace the city’s vibrant energy․ From bustling nightlife to intimate cafes, Montreal offers a backdrop for every type of romantic pursuit․
Understanding Montreal’s Culture & Attitudes Towards Dating
Montreal’s dating culture is significantly shaped by its unique position within Québec, blending European traditions with North American openness․ A key aspect is the importance of directness, though often tempered with politeness – a characteristic of Quebecois social norms․ While generally accepting, a degree of traditionalism persists, particularly regarding initial courtship rituals․
Understanding basic French phrases demonstrates respect and can greatly enhance interactions․ The city’s 19 boroughs each possess distinct atmospheres, influencing local attitudes․ Expect a more relaxed pace compared to some North American cities, with an emphasis on enjoying the moment․ Open-mindedness and genuine curiosity about the local culture are highly valued, fostering more meaningful connections within this diverse urban environment․
Navigating Montreal’s Boroughs for Hookups
Montreal’s 19 boroughs each offer unique vibes for casual encounters, ranging from bohemian enclaves to trendy, upscale districts, catering to diverse preferences․
Plateau Mont-Royal: Bohemian & Casual
The Plateau Mont-Royal exudes a distinctly bohemian and relaxed atmosphere, making it a prime location for more casual encounters․ Characterized by colorful row houses, winding streets, and a thriving arts scene, this borough attracts a diverse crowd of students, artists, and young professionals․
Expect a less-pressured, more laid-back dating scene here․ Numerous cozy bars and cafes provide intimate settings for meeting people, while Parc La Fontaine offers opportunities for daytime connections․ The area’s generally accepting and open-minded vibe fosters a comfortable environment for exploring possibilities․ It’s a place where authenticity is valued, and connections often blossom organically․
Mile End: Artistic & Alternative
Mile End presents a distinctly artistic and alternative vibe, attracting a creative and open-minded demographic․ This borough, known for its independent boutiques, bagel shops, and vibrant mural scene, fosters a unique energy ideal for those seeking unconventional connections․
The dating scene in Mile End tends to be less focused on superficiality and more on shared interests and intellectual compatibility․ Expect to find individuals who appreciate authenticity and value genuine connection․ Numerous art galleries, performance spaces, and independent cafes provide ample opportunities to meet like-minded people․ It’s a place where expressing individuality is celebrated, and casual encounters often evolve into something more meaningful․
Downtown Montreal: Modern & Fast-Paced
Downtown Montreal embodies a modern and fast-paced energy, attracting young professionals and a diverse crowd․ This central hub boasts a concentration of high-rise buildings, upscale restaurants, and bustling nightlife venues, creating a dynamic atmosphere for those seeking quick connections․
The dating scene here is often characterized by efficiency and a focus on immediate attraction․ Expect a more direct approach, with individuals often prioritizing convenience and compatibility․ Numerous bars, clubs, and events cater to a diverse range of tastes, offering ample opportunities for meeting potential partners․ It’s a place where ambition and social activity intertwine, making it ideal for those seeking a vibrant and energetic hookup experience․
Old Montreal: Historic & Tourist-Focused

Old Montreal, with its cobblestone streets and historic architecture, presents a unique and romantic backdrop for encounters, though distinctly different from other boroughs․ Heavily populated by tourists, the area offers a blend of local charm and international visitors, creating a diverse, albeit transient, dating pool․
While not known as a primary hookup hotspot, Old Montreal’s numerous bars, wine lounges, and upscale hotels provide opportunities for more sophisticated connections․ Expect a slower pace and a greater emphasis on ambiance and conversation․ The area attracts individuals seeking a more refined experience, potentially leading to longer-term connections alongside casual encounters․ Be mindful of the tourist element; intentions may vary widely․
Griffintown: Trendy & Upscale
Griffintown, a rapidly developing area, attracts a young, professional crowd with its modern condos, trendy restaurants, and upscale bars․ This borough offers a distinctly different vibe compared to Old Montreal or the Plateau, leaning towards a more sophisticated and ambitious dating scene․
Expect to find individuals focused on career and lifestyle, potentially seeking partners with similar aspirations․ The area’s numerous bars and lounges provide ample opportunities for meeting people, with a focus on after-work socializing․ While not overtly a cruising area, Griffintown’s vibrant nightlife and stylish atmosphere foster a climate conducive to casual encounters and more serious connections alike․ Discretion is valued here, reflecting the area’s upscale character․
Popular Hookup Spots in Montreal
Montréal’s diverse boroughs boast numerous venues – from lively bars and nightclubs to discreet saunas – catering to various preferences for casual encounters․
Bars & Nightclubs
Montréal’s nightlife pulsates with energy, offering a diverse range of bars and nightclubs ideal for meeting people․ Saint-Denis Street is renowned for its bustling atmosphere and numerous bars, attracting a younger, student-focused crowd eager for casual connections․ Expect lively music and a vibrant social scene․
Crescent Street, conversely, presents a more upscale and polished nightlife experience․ This area draws a diverse clientele, including tourists and locals, with its trendy bars and clubs․ Both areas provide ample opportunities for initiating conversations and potentially finding a hookup․ Remember to be respectful and aware of your surroundings while enjoying Montréal’s exciting nightlife․ The city’s vibrant energy makes these spots prime locations for those seeking spontaneous encounters․
Saint-Denis Street Bars
Saint-Denis Street embodies Montréal’s youthful and energetic spirit, boasting a concentration of bars particularly popular with students and those seeking a casual atmosphere․ These establishments frequently feature live music, affordable drinks, and a lively, unpretentious vibe․ Expect a diverse crowd, making it easy to strike up conversations and connect with potential partners․
The bars along Saint-Denis are known for their relaxed settings, encouraging mingling and spontaneous interactions․ It’s a fantastic location for those who prefer a less formal approach to meeting people․ Be prepared for a bustling environment, especially on weekends, and remember to prioritize safety and respect while enjoying the vibrant nightlife․ This street offers a readily accessible and energetic scene for hookups․
Crescent Street Nightlife
Crescent Street presents a more polished and upscale nightlife experience compared to Saint-Denis, attracting a diverse crowd seeking a sophisticated atmosphere․ Expect trendy bars, stylish lounges, and a generally more glamorous vibe․ This area is known for its lively patios during warmer months, creating an open and inviting space for socializing․
The bars on Crescent Street often feature DJs, themed nights, and a focus on cocktails, making it ideal for those who enjoy a more curated nightlife experience․ While potentially more expensive than other areas, Crescent Street offers a higher chance of encountering a well-dressed and outgoing crowd․ It’s a prime location for those seeking a more refined and potentially lucrative hookup scene․
Saunas & Bathhouses
Montreal boasts a historically prominent sauna and bathhouse culture, offering discreet venues for relaxation and potential encounters․ These establishments often cater to a diverse clientele, providing a more open and accepting environment for exploring sexual interests․ While specific details require further research to ensure current accuracy, historically, these spaces have been known as hubs for casual connections․
Expect varying levels of privacy and openness depending on the specific establishment․ Some prioritize strict etiquette and relaxation, while others are more explicitly geared towards sexual activity․ Researching reviews and understanding the specific rules of each location is crucial before visiting․ Remember to prioritize respectful behavior and consent in these environments, as with any social interaction․
Cruising Areas
Montreal offers several public spaces historically known as cruising areas, though activity levels and police presence can fluctuate․ Parc La Fontaine, with its expansive greenery and secluded paths, has long been cited as a location for discreet encounters․ Similarly, Mount Royal Park, particularly in more isolated areas, attracts individuals seeking casual connections․
However, it’s crucial to exercise extreme caution when utilizing these spaces․ Public cruising carries inherent risks, including potential legal consequences and safety concerns․ Be aware of your surroundings, avoid engaging in overtly visible acts, and prioritize personal security․ Discretion and respect for the environment are paramount․ Remember that laws regarding public indecency are enforced, and responsible behavior is essential․
Parc La Fontaine
Parc La Fontaine, a sprawling green space in the Plateau Mont-Royal, has a longstanding reputation as a discreet cruising location within Montreal․ Its mature trees, winding paths, and relatively secluded corners offer opportunities for those seeking casual encounters․ The park’s size allows for a degree of privacy, attracting individuals during evenings and weekends․
However, potential cruisers should be acutely aware of the risks involved․ Increased police patrols and the possibility of public exposure necessitate extreme caution․ Discretion is key; avoid overt displays and be mindful of surrounding park users․ Prioritize personal safety and be prepared to move on if the environment feels unsafe or uncomfortable․ Remember, public indecency laws are enforced․
Mount Royal Park
Mount Royal Park, designed by Frederick Law Olmsted, presents a more challenging environment for discreet encounters than Parc La Fontaine, yet remains a known cruising spot․ Its vastness and hilly terrain offer pockets of seclusion, particularly along the less-traveled paths and wooded areas, especially during the late evening and night․ The panoramic views add to the allure for some․
However, the park’s size also means greater visibility and potential for interruption․ Police presence is frequent, and the park is popular with families and joggers, demanding a high level of caution․ Prioritize safety by being aware of your surroundings and avoiding risky behavior․ Discretion is paramount; avoid drawing attention to yourself and be prepared to leave if necessary․
Online Dating & Apps in Montreal
Digital platforms like Tinder, Bumble, Feeld, and OkCupid are widely used in Montréal for meeting people, ranging from casual dates to hookups․
Tinder in Montreal: Usage & Trends
Tinder remains a dominant force in Montreal’s dating scene, boasting a large user base across all boroughs․ Its popularity stems from its simplicity and accessibility, catering to a broad spectrum of intentions – from casual encounters to more serious relationships․
Trends indicate a significant portion of users are between 18-35, with a noticeable presence of university students and young professionals․ Profile aesthetics often lean towards showcasing an active lifestyle, highlighting interests in arts, music, and outdoor activities․
Compared to other cities, Montreal Tinder users appear more open to bilingual communication, with many profiles including French language skills․ Expect a generally respectful atmosphere, though, like any platform, caution is advised; Success often hinges on a compelling profile and initiating engaging conversations․
Bumble: Empowering Women in Montreal Dating
Bumble distinguishes itself in Montreal’s dating landscape by prioritizing female agency․ The app’s core mechanic – requiring women to initiate the conversation – resonates with Montreal’s progressive values and fosters a more controlled experience for female users․
Usage trends reveal a slightly older demographic compared to Tinder, with a higher concentration of users aged 25-45 seeking meaningful connections․ Profiles often emphasize career aspirations, intellectual pursuits, and a desire for respectful interactions․
Montreal women on Bumble generally appreciate thoughtful openers and genuine interest beyond superficial compliments․ The platform’s emphasis on quality over quantity contributes to a reputation for attracting individuals seeking more than just casual hookups, though those options are also present․
Other Dating Apps (Feeld, OkCupid)
Beyond Tinder and Bumble, Montreal’s dating scene embraces niche platforms catering to diverse preferences․ Feeld, a relationship-focused app, attracts individuals exploring alternative relationship structures – polyamory, kink, and open relationships – finding a receptive audience within the city’s open-minded community․
OkCupid remains a viable option, particularly for those prioritizing detailed profiles and compatibility matching․ Its extensive questionnaire allows users to articulate their values, interests, and sexual orientations, fostering connections based on shared beliefs․
These apps often see higher engagement amongst Montreal’s artistic and academic circles․ While user bases are smaller than mainstream apps, they offer a focused environment for finding like-minded individuals seeking specific types of connections, beyond conventional dating norms․
Safety Considerations for Hookups
Prioritize your well-being: practice safe sex, be aware of potential scams, and understand the legal framework surrounding consensual activities in Montréal․
Protecting Yourself from STIs
Navigating Montreal’s hookup scene requires prioritizing sexual health․ Consistent and correct condom use remains the most effective method for preventing the spread of sexually transmitted infections (STIs)․ Regular STI testing is crucial, even in seemingly monogamous relationships, as asymptomatic infections are common․ Several clinics throughout the city offer confidential testing and treatment options, easily accessible to residents and visitors․
Beyond condoms, consider discussing STI status with potential partners before engaging in sexual activity․ Open communication fosters trust and allows for informed decision-making․ Vaccination against HPV and Hepatitis B offers additional protection․ Remember, responsible sexual behavior isn’t just about protecting yourself; it’s about respecting your partner’s health as well․ Resources are readily available to promote safe and healthy sexual practices within Montréal․
Avoiding Scams & Catfishing
The anonymity of online dating and hookup apps in Montreal presents opportunities for scams and catfishing․ Be wary of profiles with overly glamorous photos or inconsistent information․ Reverse image search can verify if a profile picture is stolen from elsewhere online․ Avoid individuals who quickly profess strong feelings or request financial assistance, even for seemingly legitimate reasons․
Never share personal financial details or send money to someone you’ve only met online․ Meet in public places for initial encounters and inform a friend of your whereabouts․ Trust your instincts – if something feels off, it probably is․ Report suspicious profiles to the dating app or platform․ Protecting your personal information and exercising caution are vital for a safe and positive experience in Montreal’s hookup scene․
Legal Aspects of Consensual Sex
In Canada, and specifically within Montreal, consensual sexual activity between adults is legal․ However, it is crucial to understand and respect the legal definition of consent․ Consent must be freely given, informed, and ongoing; silence or lack of resistance does not imply consent․
Coercion, manipulation, or incapacitation (due to alcohol or drugs) invalidate consent․ Sexual activity with someone under the age of 16 is illegal, regardless of consent․ Be aware of laws regarding public indecency and ensure any activity adheres to these regulations․ Understanding and respecting boundaries is paramount․ Ignorance of the law is not a defense; prioritize clear communication and mutual respect to ensure all encounters are legal and ethical within Montreal’s legal framework․
Montreal’s LGBTQ+ Scene & Hookup Options
Montreal boasts a thriving LGBTQ+ community, particularly in Le Village Gai, offering numerous bars, clubs, and events catering to diverse preferences and connections․
Gay Village (Le Village Gai)
Le Village Gai, Montreal’s vibrant Gay Village, is a concentrated hub of LGBTQ+ life, radiating energy and acceptance․ Situated primarily along Sainte-Catherine Street East, between René-Lévesque Boulevard and Mont-Royal Avenue, it’s easily identifiable by its rainbow-colored pedestrian street and welcoming atmosphere․
This area is packed with bars, clubs, restaurants, and shops specifically catering to the LGBTQ+ community and allies․ It’s a prime location for meeting people, enjoying nightlife, and experiencing a strong sense of community․ Beyond the entertainment options, Le Village Gai hosts numerous events throughout the year, including the iconic Montreal Pride Festival, drawing visitors from across the globe․
The Village offers a safe and inclusive space for exploration and connection, making it a central point for hookups and longer-term relationships within Montreal’s LGBTQ+ scene․
LGBTQ+ Friendly Bars & Clubs
Beyond Le Village Gai, Montreal boasts a wealth of LGBTQ+ friendly bars and clubs scattered throughout the city, offering diverse atmospheres and experiences․ These venues extend the welcoming spirit beyond the concentrated Village area, providing options for every preference․
Popular choices include Unity, a long-standing staple known for its energetic dance floor and themed nights, and Bar Salon, offering a more relaxed lounge vibe․ Other notable spots like Heaven and Club Soda frequently host LGBTQ+ events and attract a diverse crowd․ Many mainstream bars also actively welcome and cater to the LGBTQ+ community, fostering inclusivity․
These establishments provide safe spaces for socializing, dancing, and potential connections, contributing significantly to Montreal’s thriving LGBTQ+ hookup scene․

Tips for Success in Montreal’s Hookup Scene
Embrace basic French, understand Quebecois culture, and prioritize respectful, open-minded interactions to navigate Montreal’s diverse and welcoming hookup environment effectively․
Learning Basic French Phrases
While many Montrealers, particularly in tourist areas, speak English, demonstrating an effort to communicate in French is highly appreciated and can significantly enhance your interactions․ Knowing even a few basic phrases shows respect for the local culture and can open doors to more genuine connections․
Start with greetings like “Bonjour” (hello) and “Bonsoir” (good evening)․ “S’il vous plaît” (please) and “Merci” (thank you) are essential for politeness․ Simple questions like “Comment ça va?” (How are you?) or “Parlez-vous anglais?” (Do you speak English?) can be incredibly useful․
Don’t be afraid to attempt French, even if it’s imperfect! Locals are generally patient and will appreciate the gesture․ Resources like Duolingo or online phrasebooks can quickly equip you with essential vocabulary․ A little effort goes a long way in Montreal’s social scene․
Understanding Quebecois Culture
Quebecois culture is distinct from the rest of Canada, rooted in French heritage and a strong sense of identity․ Understanding this cultural nuance is crucial for navigating Montreal’s social landscape successfully․ Quebecois people generally value directness and authenticity, but also politeness and respect․
Be aware that humor can be different; self-deprecation and playful teasing are common․ Public displays of affection are generally accepted, but avoid overly aggressive or forward behavior․ Showing genuine interest in Quebec’s history, arts, and music will be well-received․
Remember that Quebec has a unique legal and social framework․ Respecting local customs and traditions demonstrates sensitivity and increases your chances of positive interactions, both socially and romantically․
Being Respectful & Open-Minded
Montreal thrives on diversity, and a respectful, open-minded approach is paramount․ Embrace the city’s multiculturalism and be accepting of different lifestyles and preferences․ Consent is absolutely essential in all interactions; clear communication is key to ensuring everyone feels comfortable and safe․
Avoid making assumptions based on stereotypes․ Be mindful of personal boundaries and respect individual choices․ Demonstrate genuine curiosity about others and their backgrounds․ A non-judgmental attitude fosters trust and creates a more positive experience for everyone involved․
Remember that cultural norms can vary, so be observant and adaptable․ Treat everyone with dignity and kindness, and prioritize ethical behavior in all your encounters․